Richard's Workshop
Stud Walls
1. Rear "Ben" Wall
A few photos gathered together on 02-07-2017
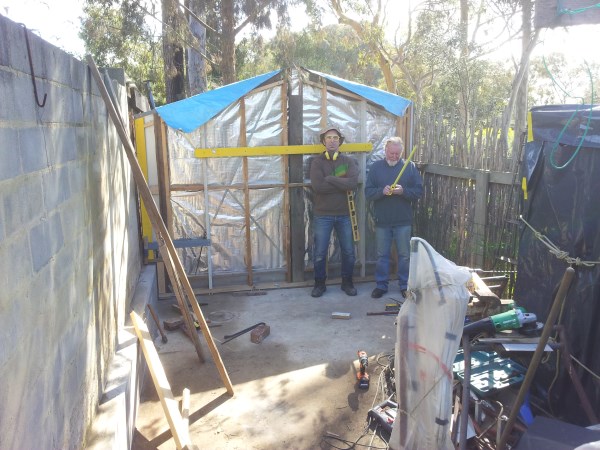
On
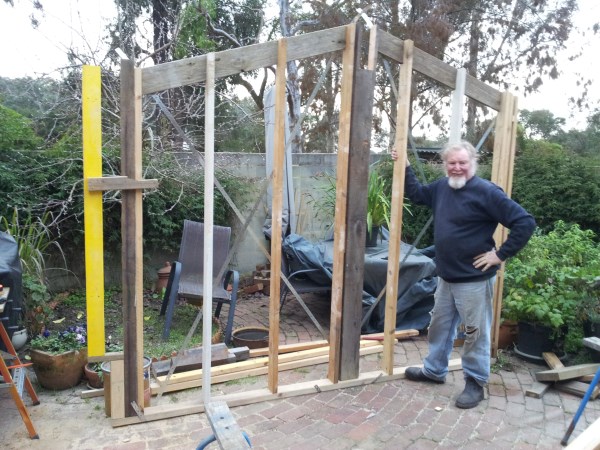
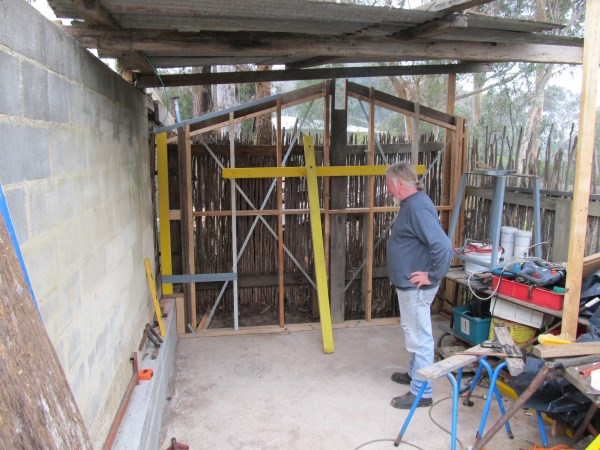
Thursday 22-06-2017, Furgutt and I built the rear wall (well, most of
it, anyway)
Note that the stud at the left side (West when installed) does not run all the way down to the bottom plate. This is because of the short concrete wall.
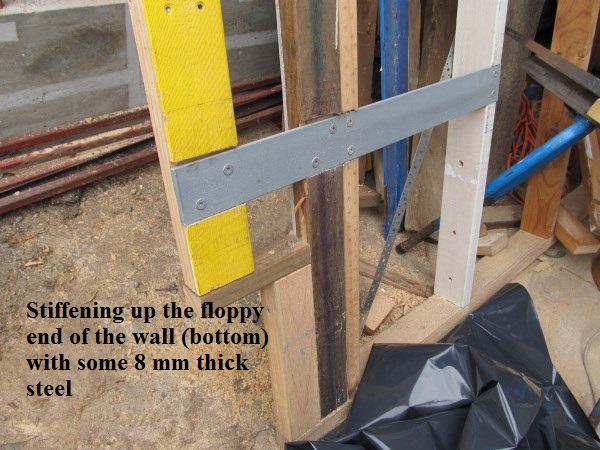
Over the following days, I installed steel stiffening, top and bottom, to locate that yellow stud more rigidly.
Here is an 8 mm thick plate to stiffen the bottom
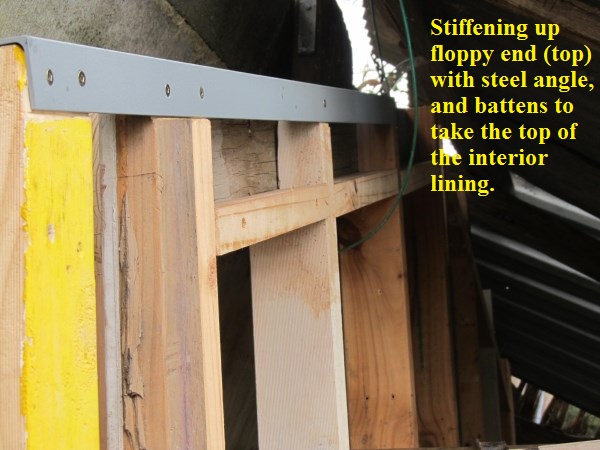
And here is a piece of 40 x 40 x 3 angle to stiffen up the top. This photo shows battens added to locate the top of the inside lining as well.
And as well as that.... we have a row of nogs at 1200 from the floor.
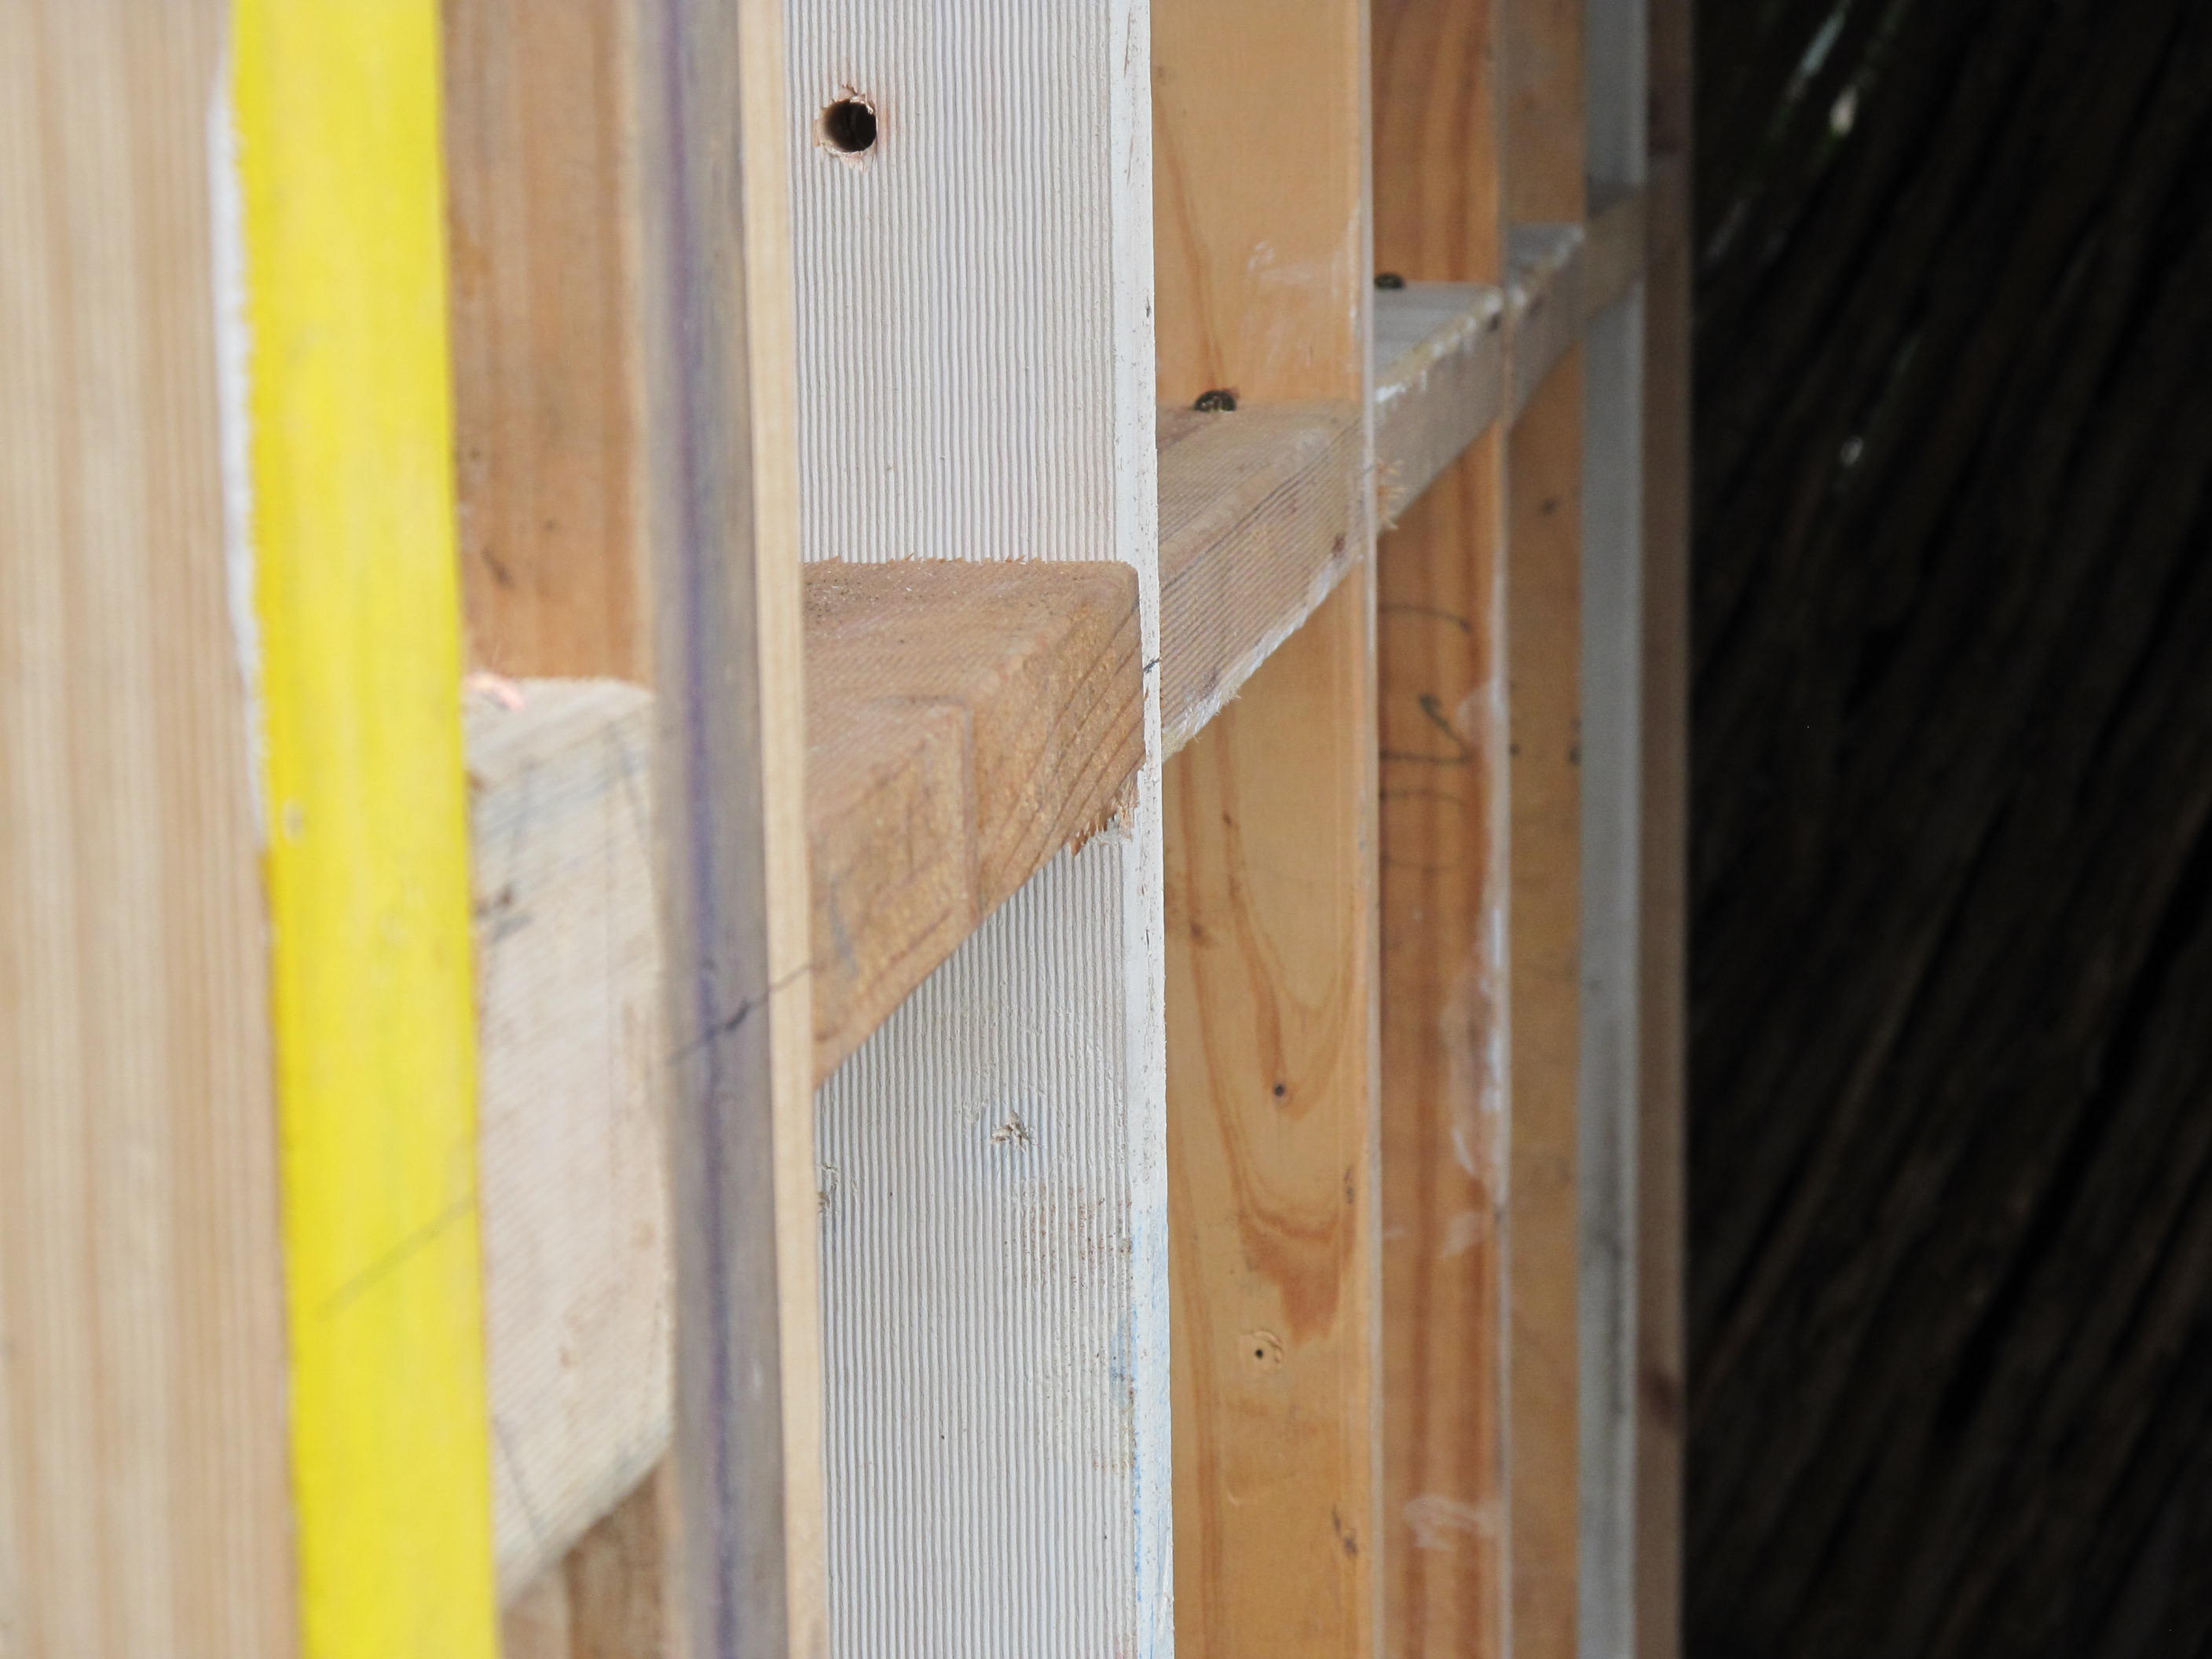
Photo Taken on 03-08-2017
This was a trial fitting of the wall. Notice that it fits nicely on the short wall at the bottom of the concrete block wall. It is clear in this picture that the column for the ridge beam is not central in this wall. The reason for this is that the ridge is central in the front wall (for appearance), and the front is about 350 wider than the back. At this trial fitting stage, holes were spotted through with the masonary drill for masonary anchors later, and then the wall was pulled out again for sarking, flashing, and cladding.
Photos Taken on 17-08-2017
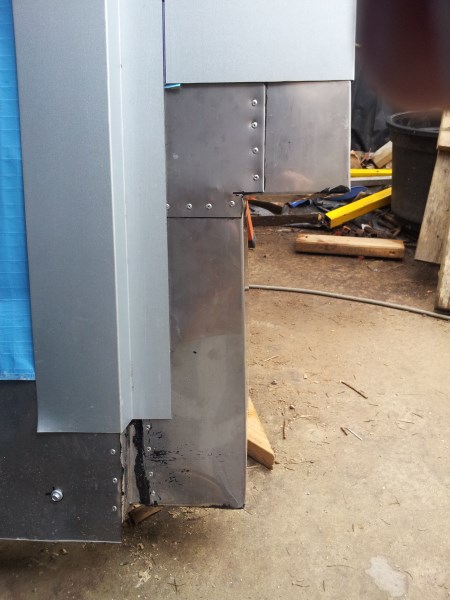
The bottom of the wall was fitted with a flashing that provided a skirt that hangs over the edge of the slab to keep water out, as well as extra convolutions to keep termites out. This photo shows the outside face at the corner where the short concrete wall runs. The black goop that is evident in some of the joints is a special stuff that is very unpalatable to termites. It doesn't kill them: it just turns them away. It is thus classed as a physical barrier and not a chemical barrier. I learned about this when building the KG Road house.
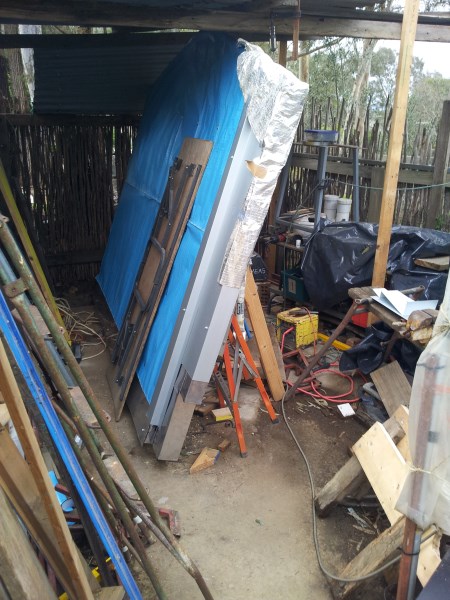
Sarking and Flashing all done. It was difficult working in this space, under the temporary roof and where the work site is also the workshop.
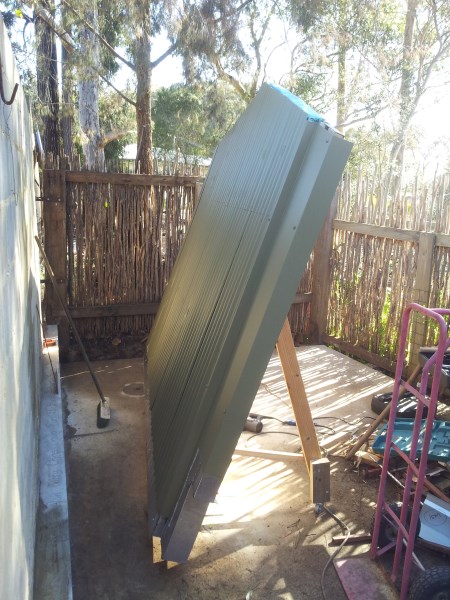
Corrugated Iron fitted and painted. In this picture, the temporary roof is temporarily removed to allow us to place the wall properly. It had become evident that we would not be able to carry the wall with the cladding on, so it was fitted with temporary props and castors!
25-08-2017
We painted the slab with epoxy where the wall was to go, and wheeled it into position and stood it up. Apart from a little jogging to line up the masonary anchor holes, it went into place beautifully. Chris was there as a very handy third pair of hands. The piece of yellow painted wood is a temporary brace. As this wall has no continuous top plate, it is not stiff in the sense of keeping the ridge beam column vertical. This stiffness will be provided later with cross bracing in the roof.