Richard's Workshop and Shed
Second Concrete Pour Day Monday 22-05-2017
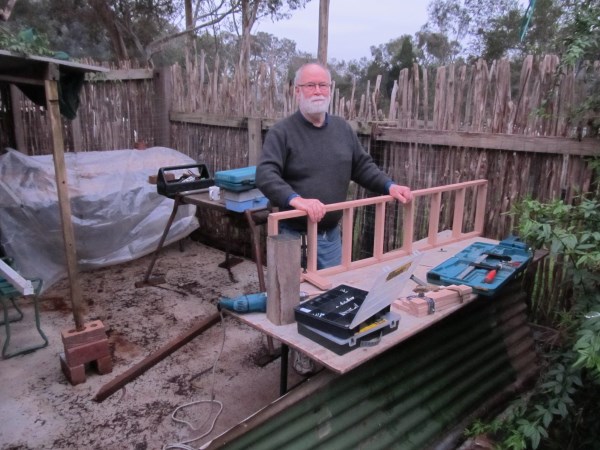
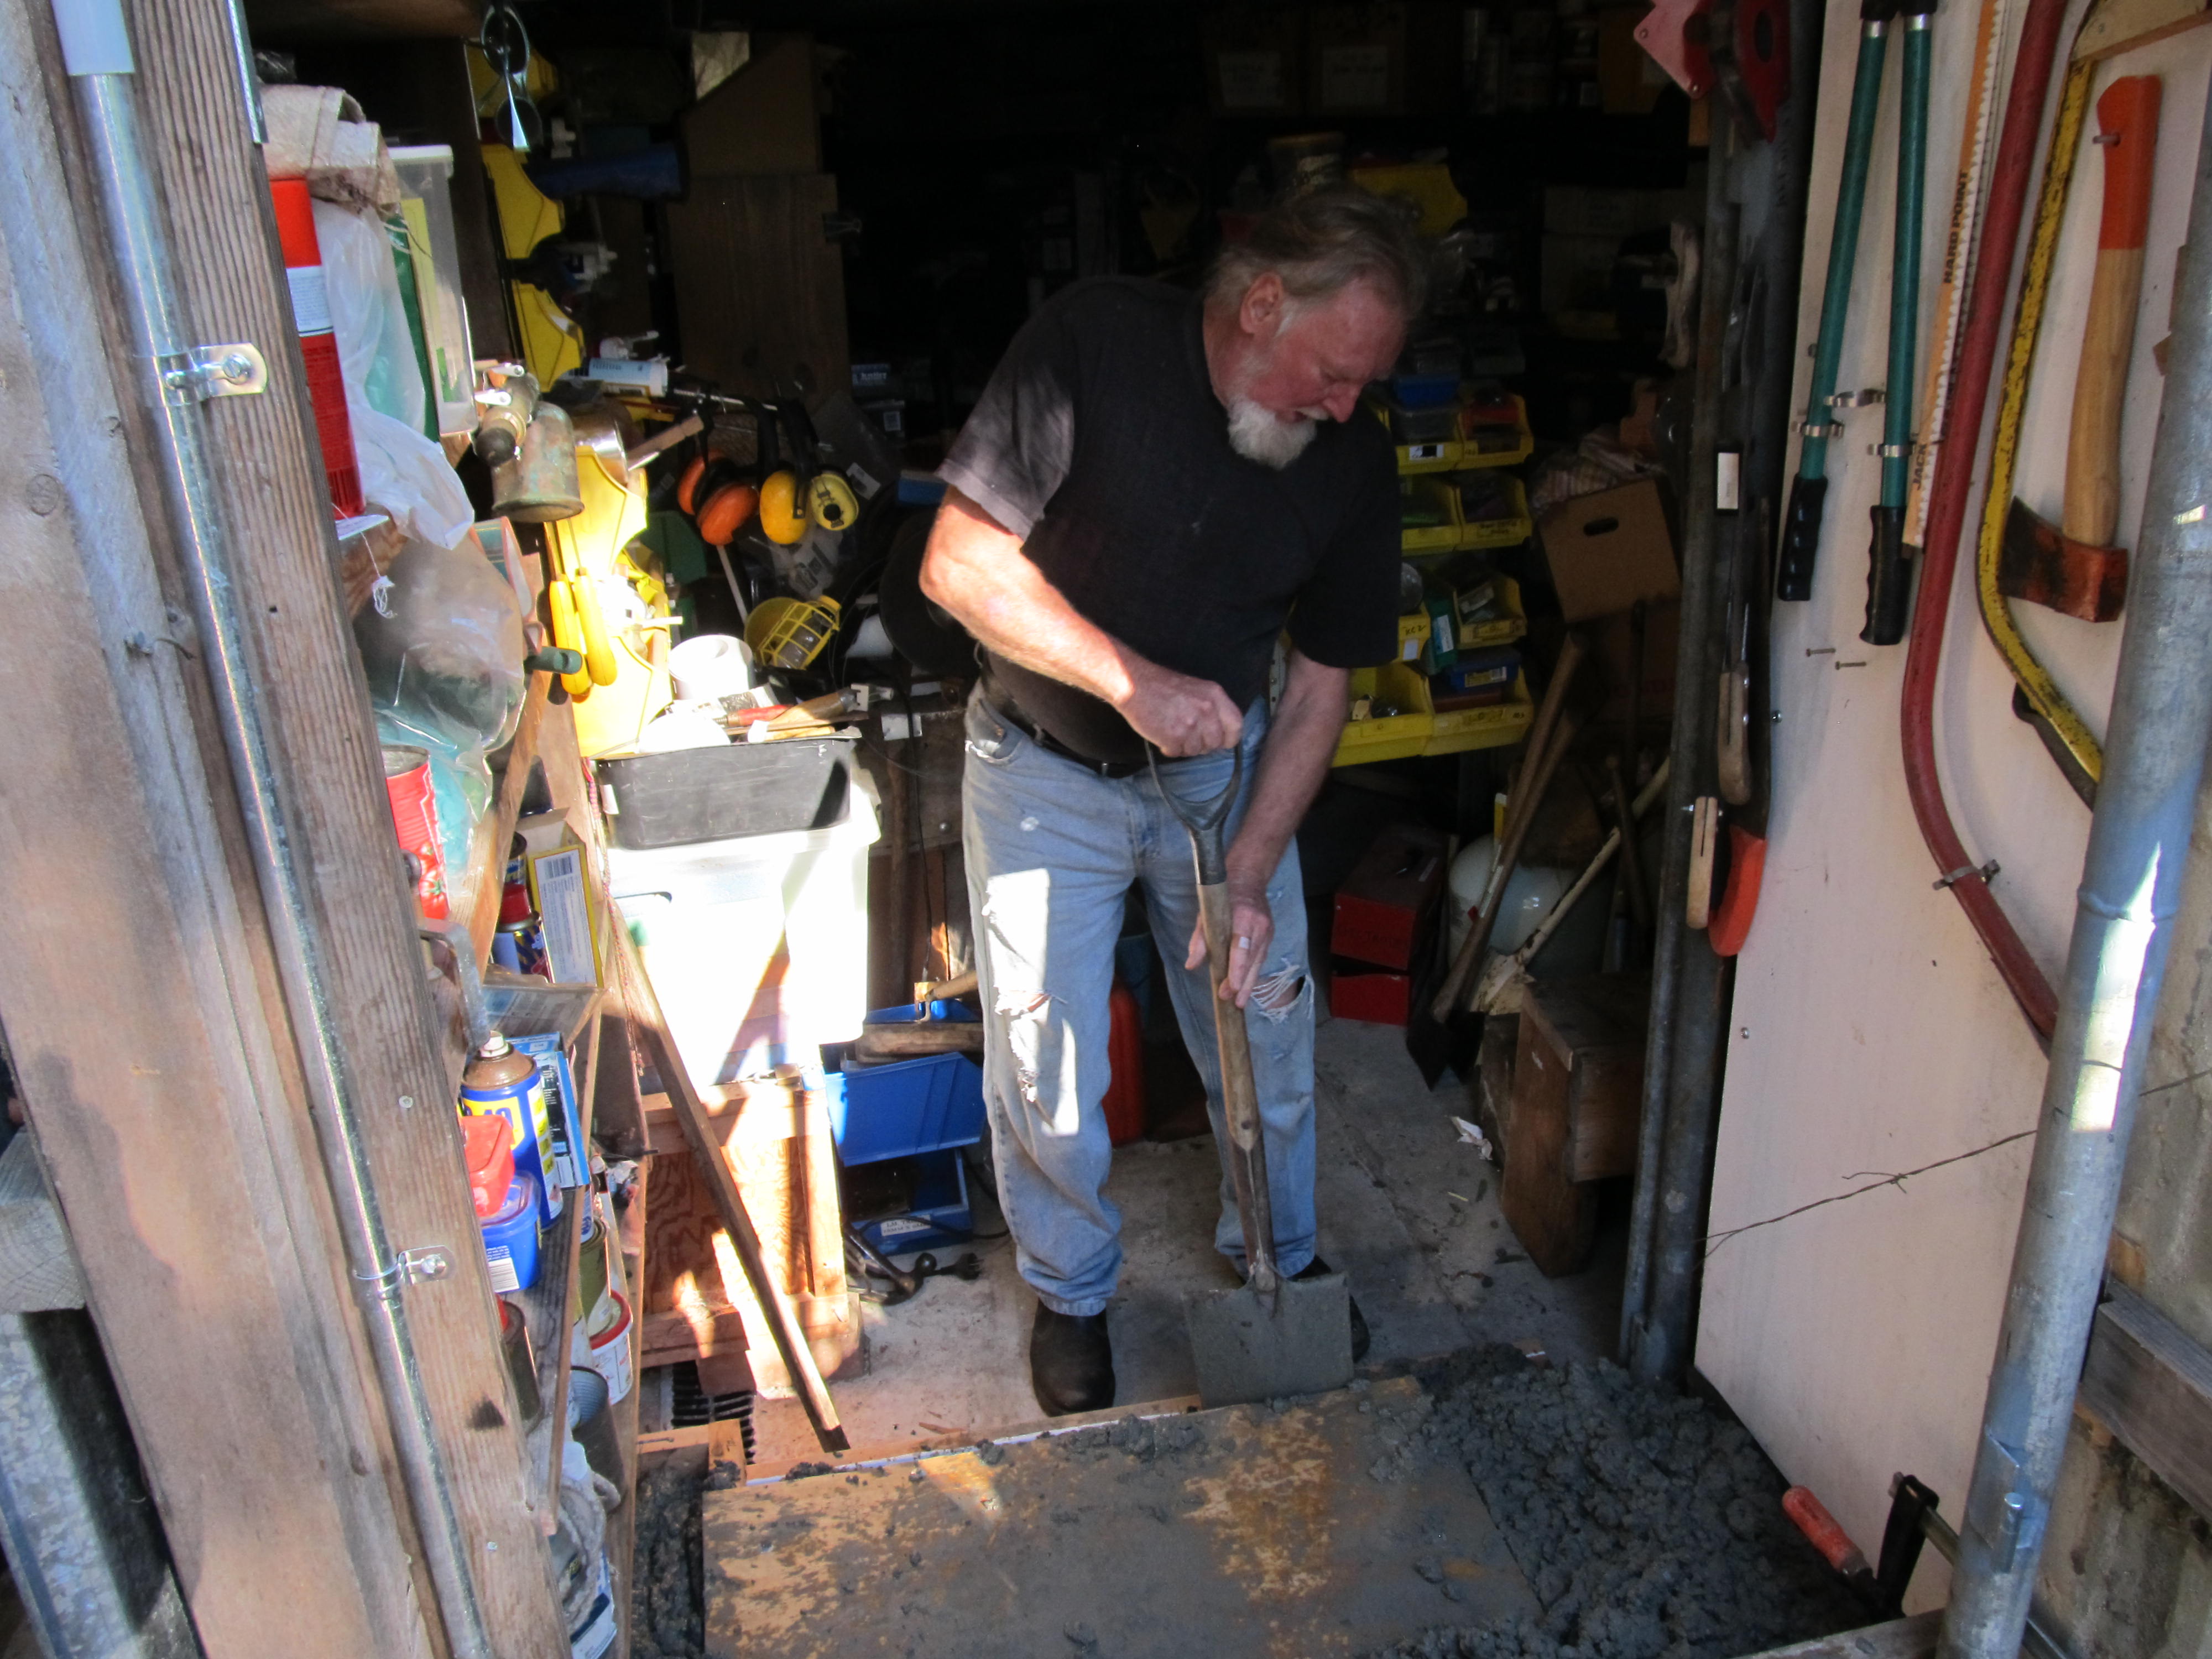
A man needs a workshop. Somewhere to go. Not only to meet his own needs, but to get out of the domestic authority's hair.

I really had to improve my workshop facilities. This is all I had for a workshop for some years.
The
wooden box to the left is supposed to be a raised vegie garden bed.
Just for the time being, it is a tool cupboard. When the workshop was
in use, a sheet of iron was shifted to the side, and tool boxes were
exposed. I did some good work with this facility, but I needed
better!
Actually, although I have called this document the Second Concrete Pour Day, concrete pouring had been going on for many days. The under-roof facilities have had to fit into two corners of the yard, so we have a “garden shed” and a “workshop”: separate buildings.
The Garden Shed was built by installing a roof that spanned the gap between two fences. The roof covered stored materials that were already there. A concrete floor was poured in there by clearing about a square metre at a time, and pouring a slab, and then moving things onto the new slab to clear another square metre and then pouring a new slab there, and so on. Once the entire floor had been done, I was able to install shelving and impose a little order on the storage. The floor included some complexities such as posts for swinging shadow boards, and under-floor drainage. But this was NOT the way to go for the workshop, which was to be a more serious building.
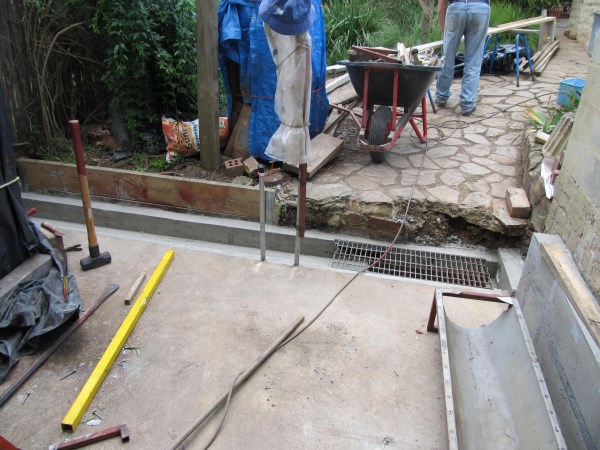
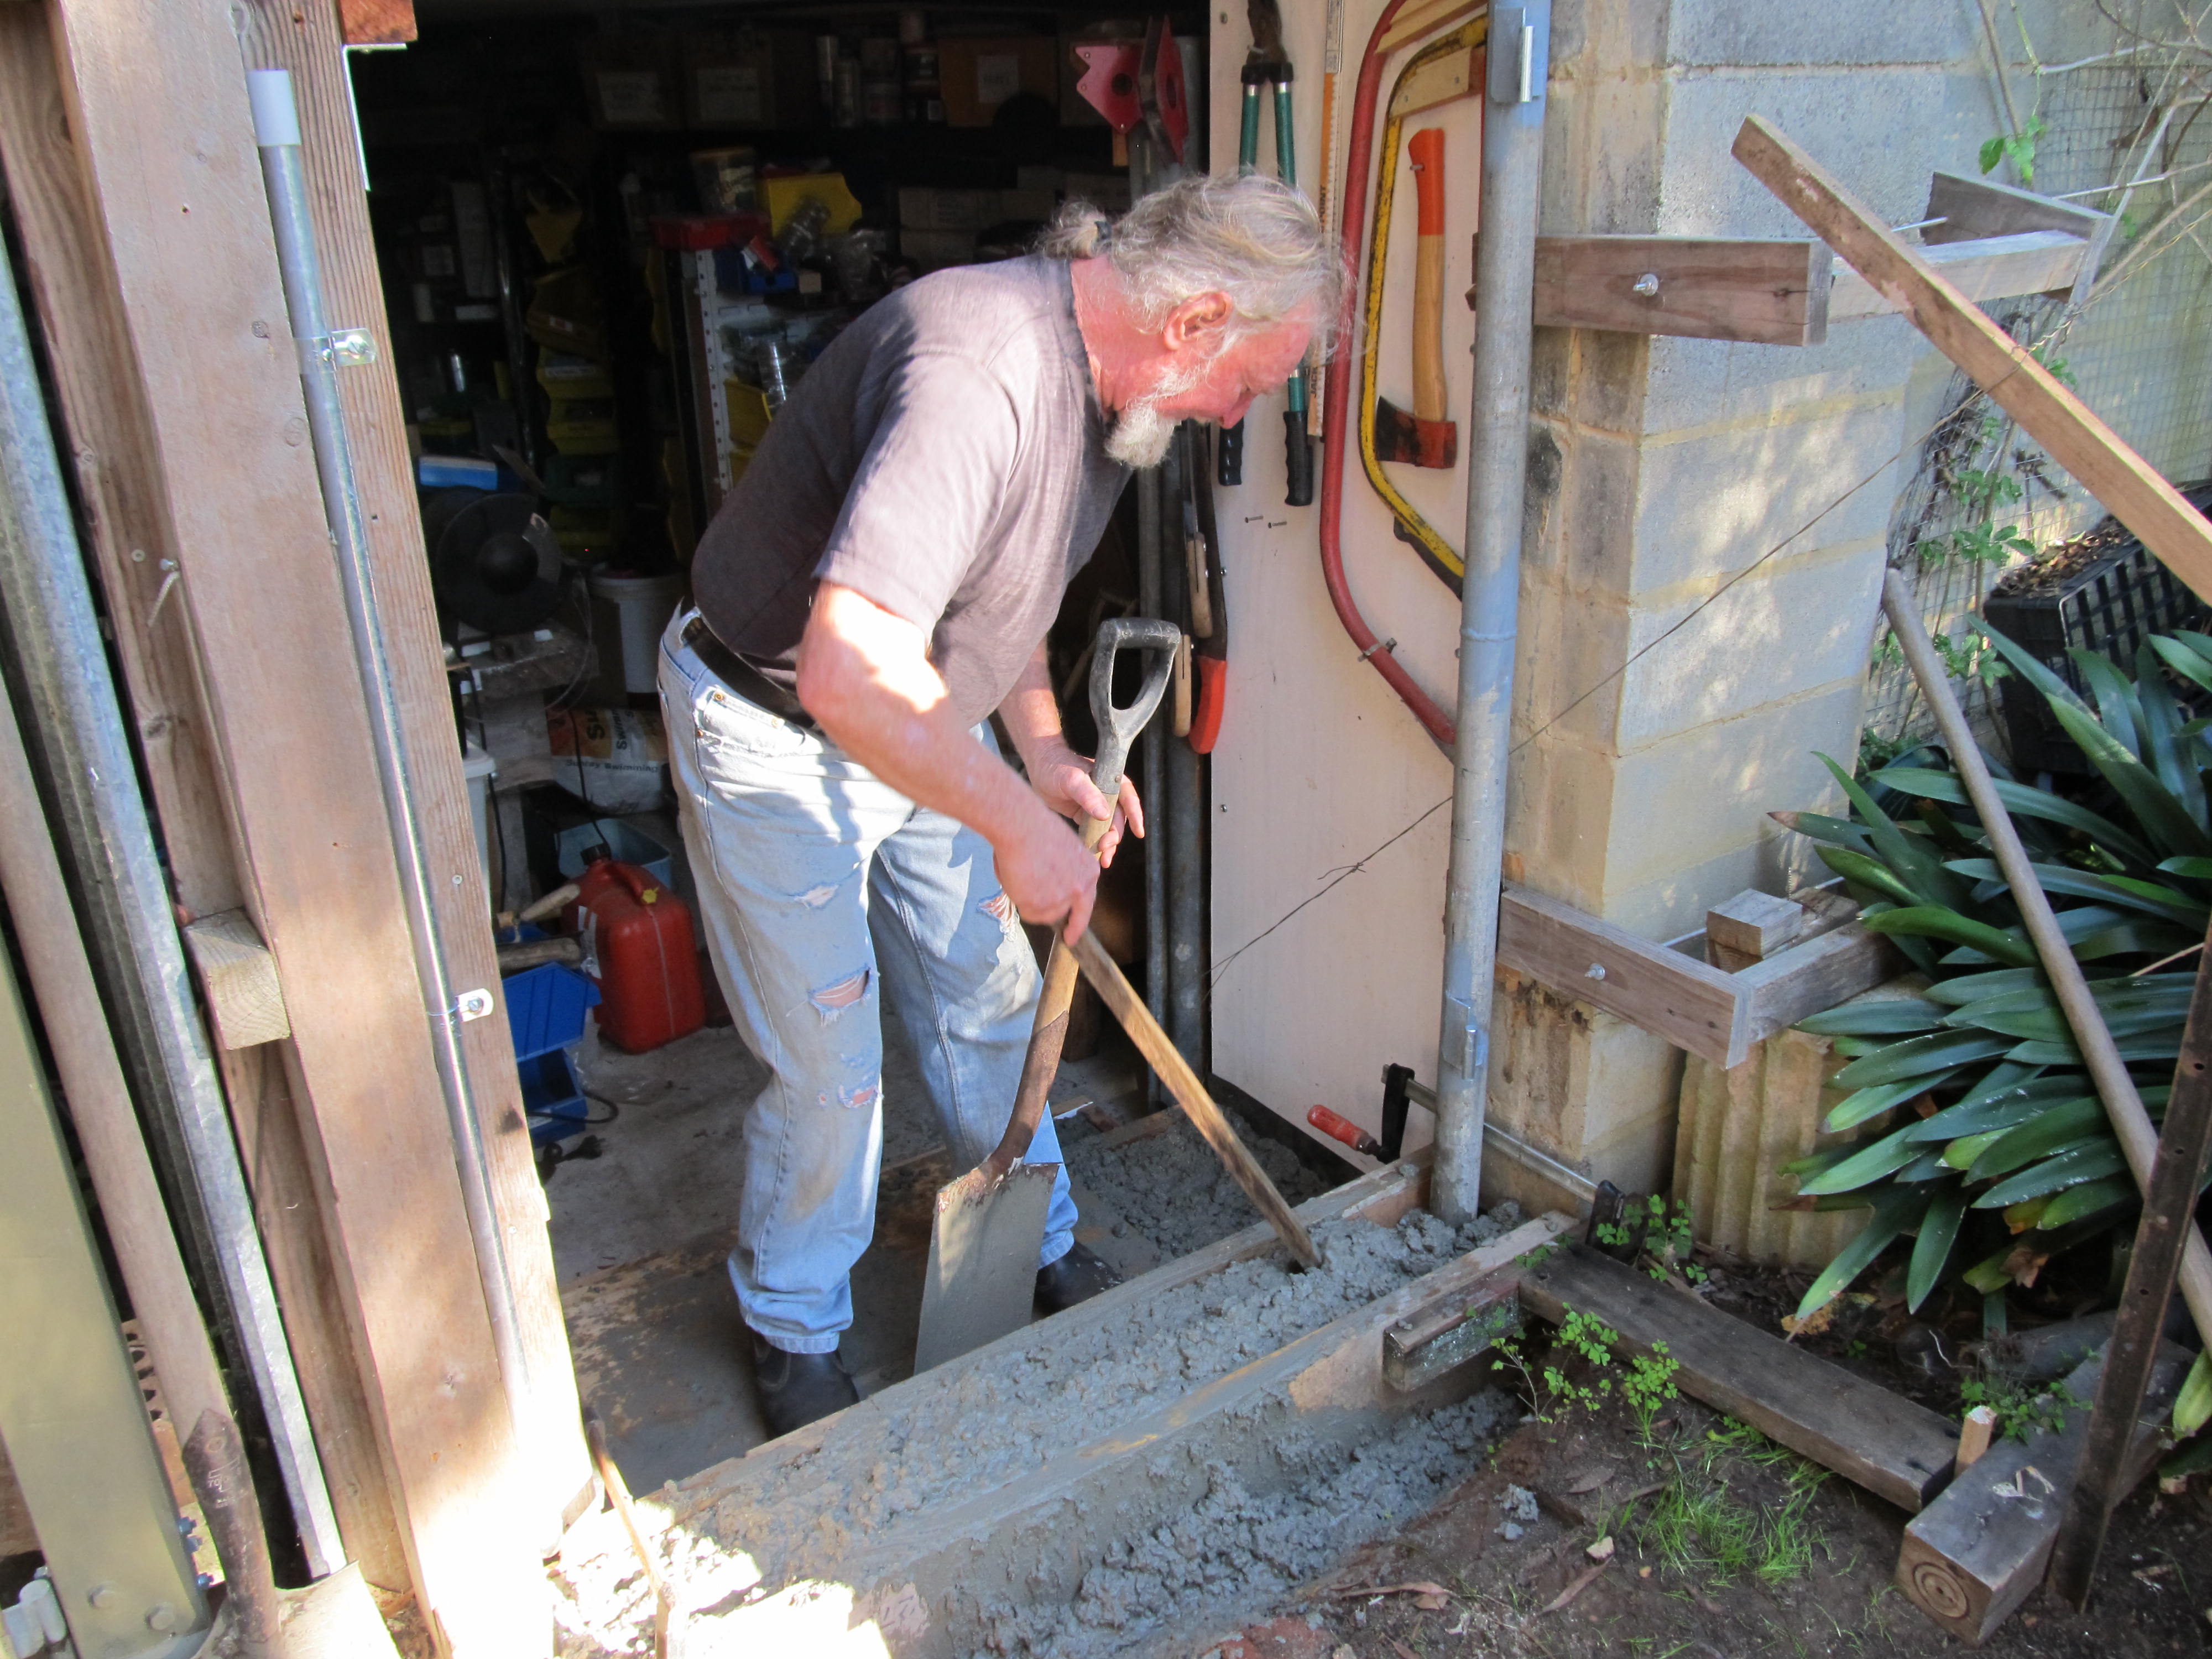
The shed roof height was limited to “below the top of the fence”, so I had to lower the floor as much as I dared. During excavation, the plastic sewer pipe was “discovered” with the mattock.
Here
we see the broken pipe. Excavation has already taken place to make
room for a hacksaw to cut out the elbow.
To provide a workshop floor slab, I tried using a conractor. The process is recorded here . This was not entirely successful, so I planned to organize the next day of concrete pouring myself.
In the meantime, I couldn't resist using my new workshop, even if it was just a slab out in the open!
There were three jobs, amounting to less than a cubic metre of concrete in total, so the plan was gestated of getting pre-mixed concrete truck, and with the help of friends, knocking off all three at once.
First, there was a retaining wall and provision for steps into the shed in the location of the above photo of the sewer pipe. Second, I had had to undermine the footing of a garden wall in excavating for the workshop floor. The plan was to glue the garden wall to the new slab with a short wall epoxied to both. Third was a box drain. Like the Shed, the workshop had to have the floor as low as possible. The garden drains in the direction of the workshop, so it was necessary to install a diversionary box drain. We do get about 100 mm of rain in half an hour every few years or so, so a size for the box drain could be determined. See here
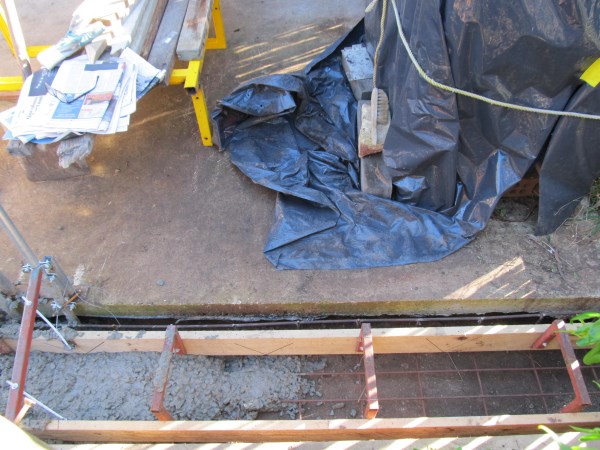
1. Shed Entrance
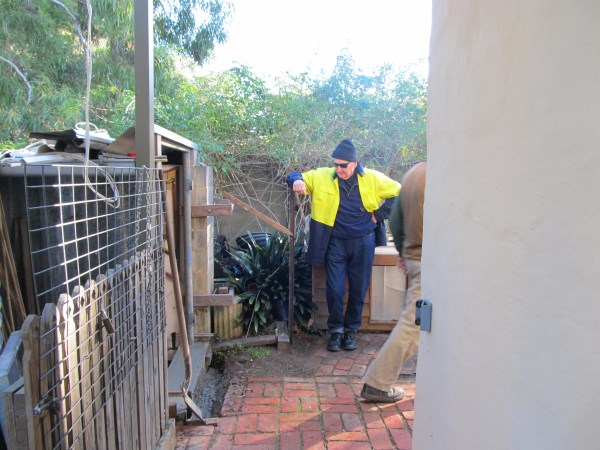
The shed entrance was in constant use, so before even preparing some formwork, I had to build a bridge over the worksite.
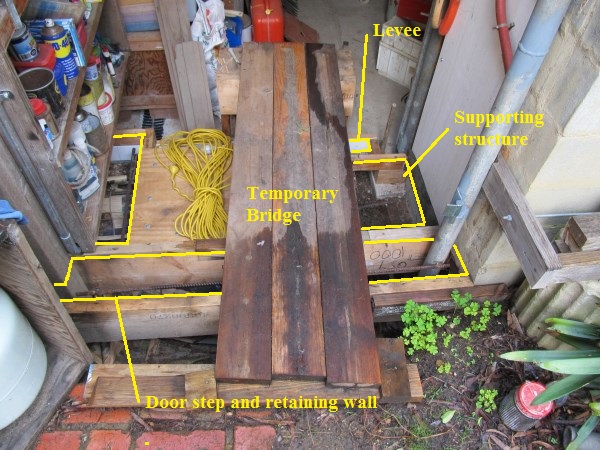
The piece of plywood with the extension cord lying on it, is just a temporary cover to keep concrete off the sewer pipe on concrete pour day.
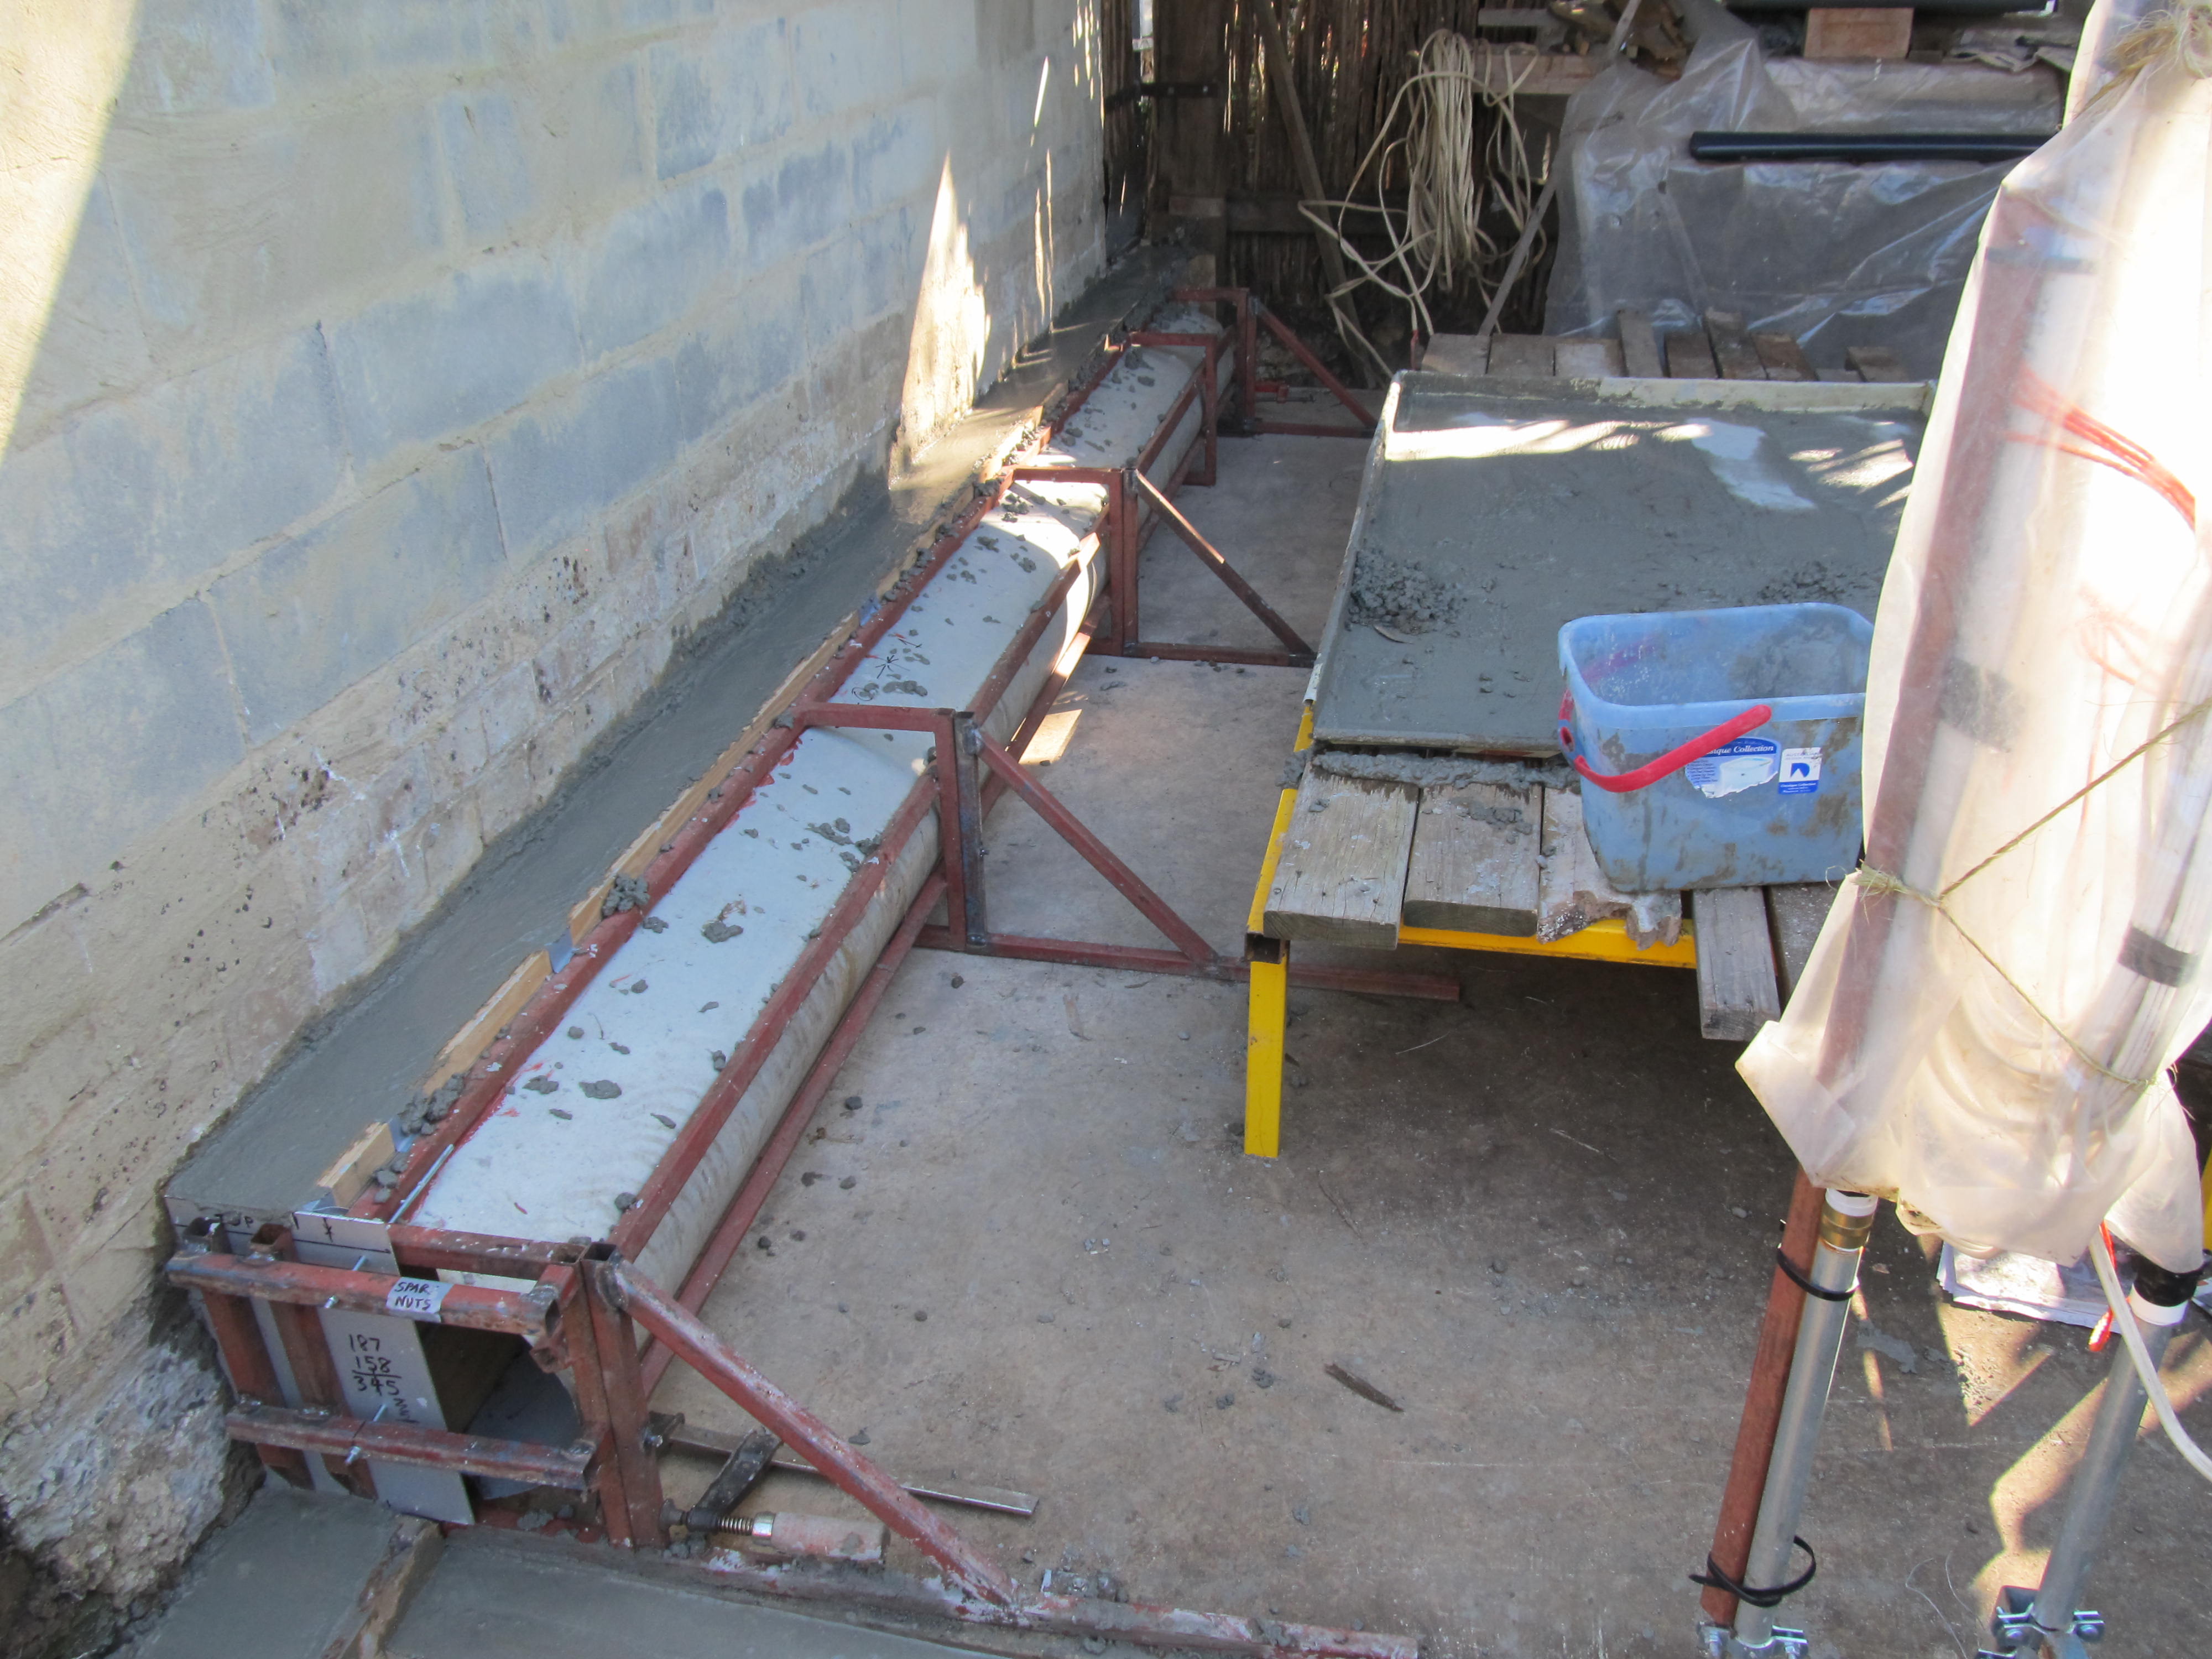
2. Support Wall
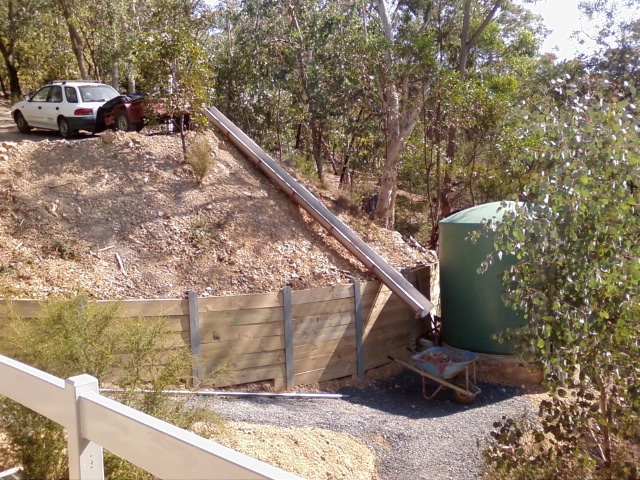
When I was building my second house in Warrandyte, I made up some chutes for delivering concrete and other materials on the steep site. here is one delivering crushed rock from the trailer.
One of these was cut short, and had plywood attached to make a formwork wall.

Here it is “almost” in place, with the reo temporarily in place.
One end of the short wall termianted at a fence post, but for the other end, the formwork had to have an end attached.
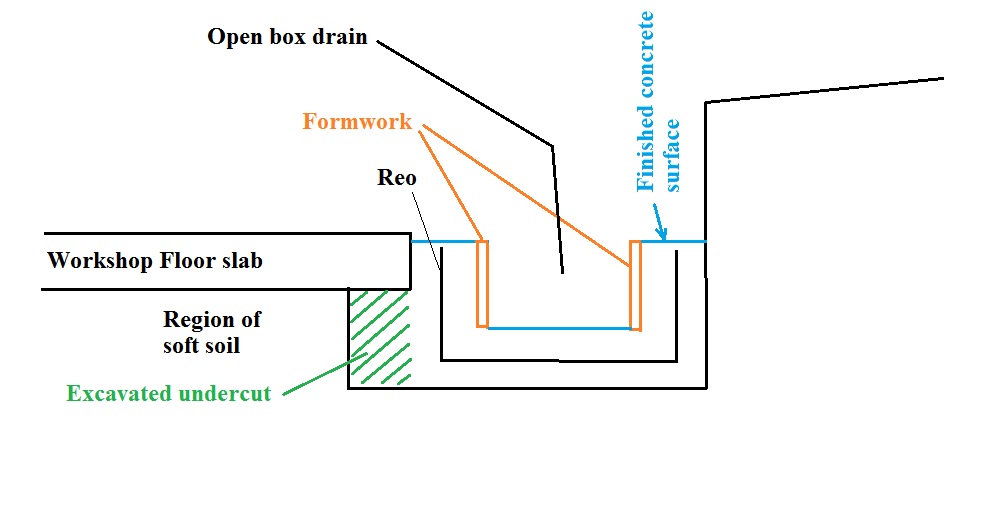
3. Box Drain
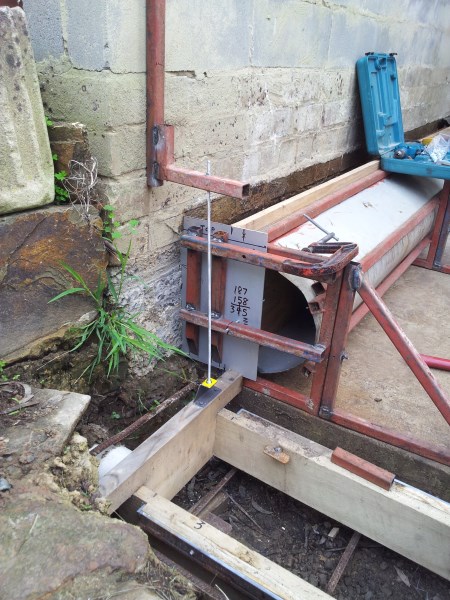
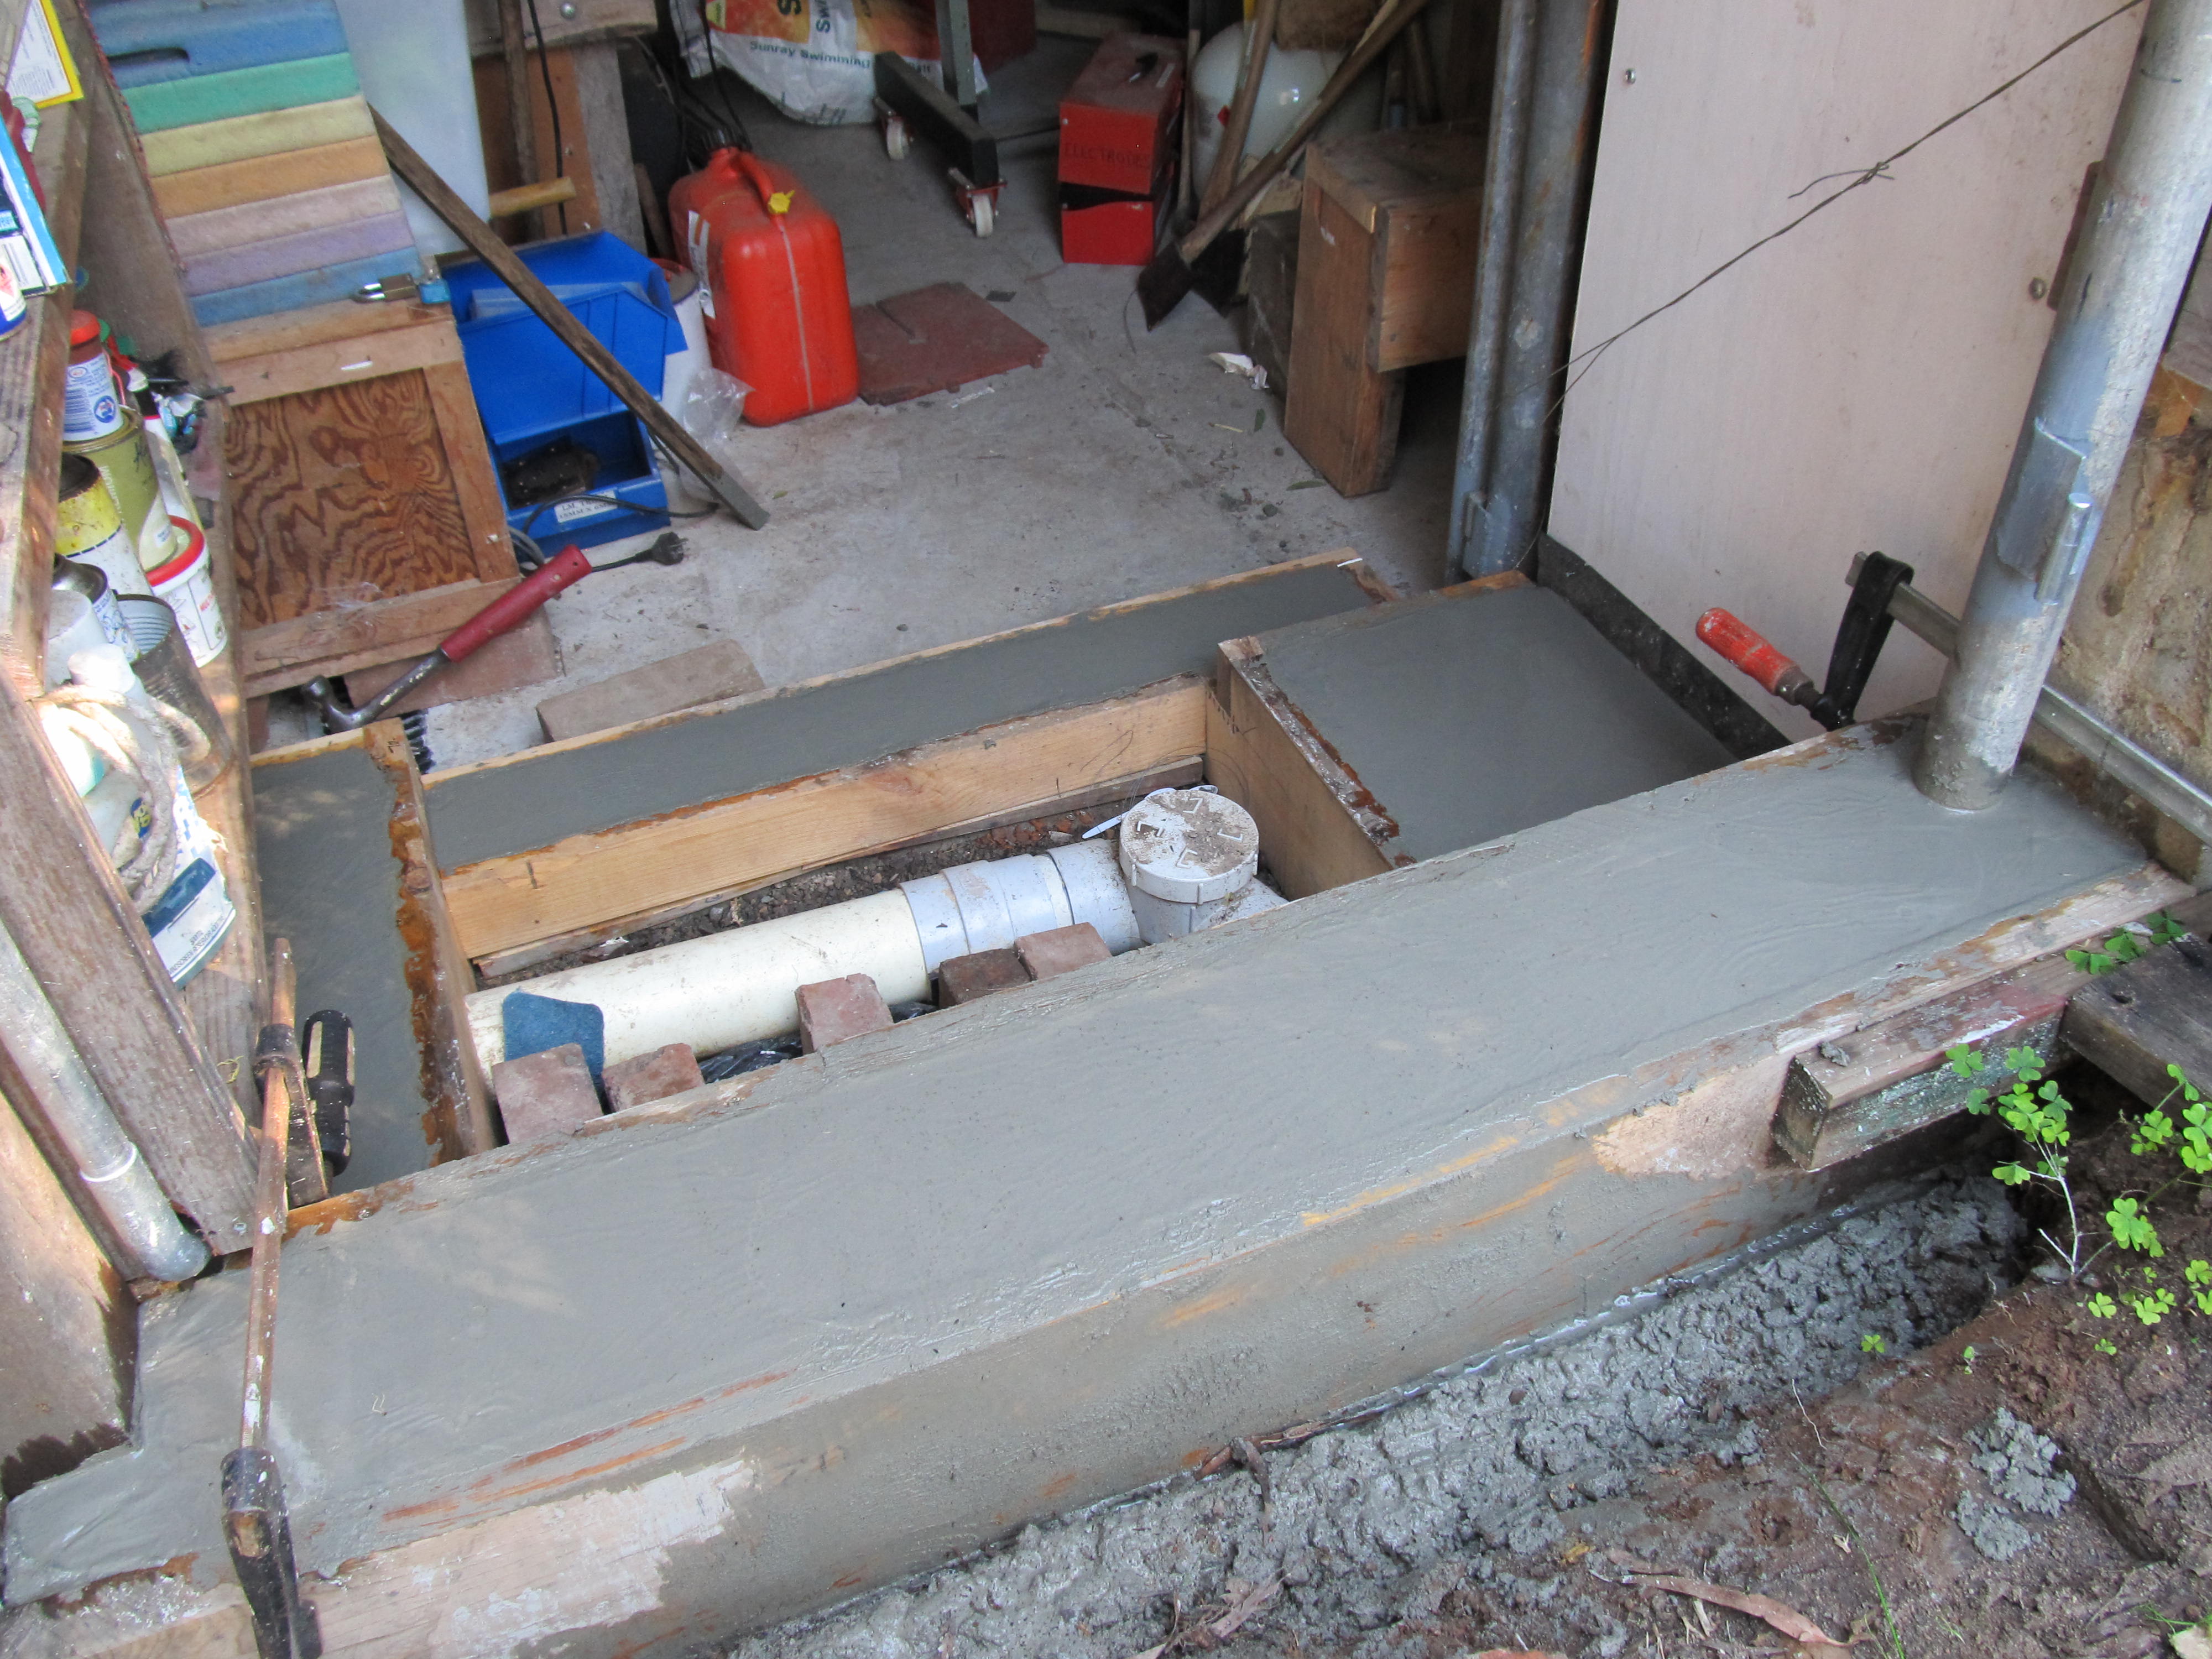
This picture shows the box drain in the finished state. The door of the shed will go where the grate is.
I had been a little uneasy about the consolidation of soil under the front edge of the floor slab, so I made an undercut as shown here, so that the box drain could serve as a footing for the slab.
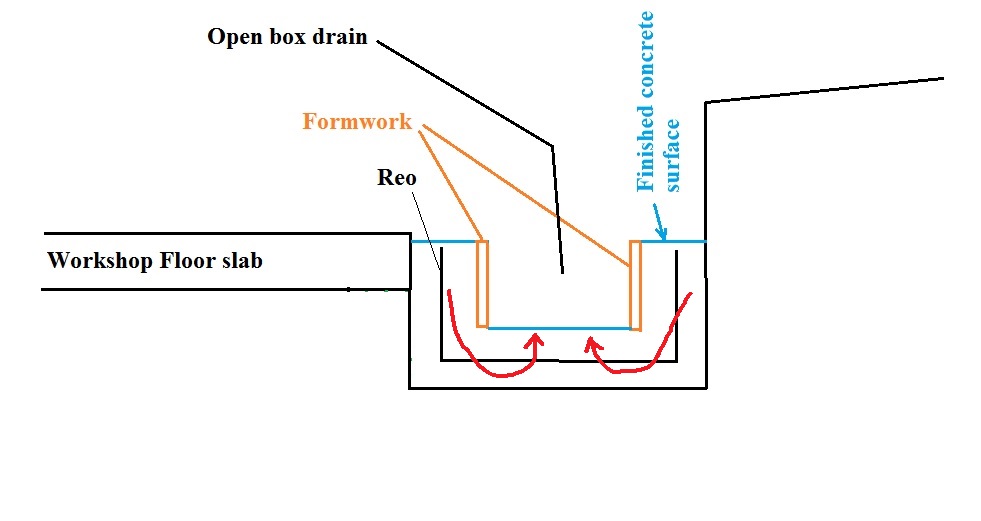
I
had been concerned about how to form up the box drain. In the end I
decided to form up the sides of the drain, but have no bottom for the
formwork. This meant that the concrete mix had to be stiff enough so
that it would not flow down the sides and up into the drain space, as
shown below. It was tricky to get the concrete supplier to do what
was required, but in the event we managed very well with what we got.
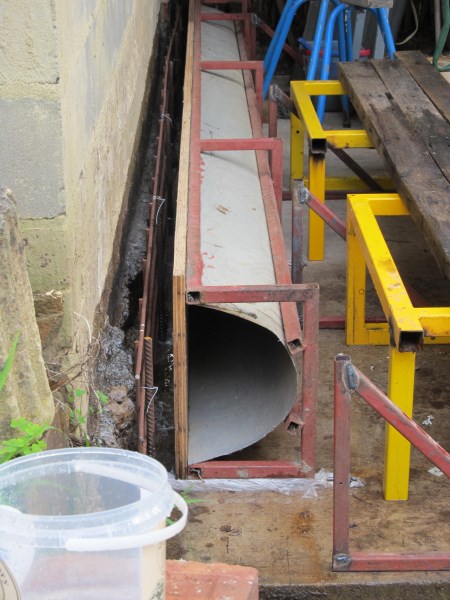
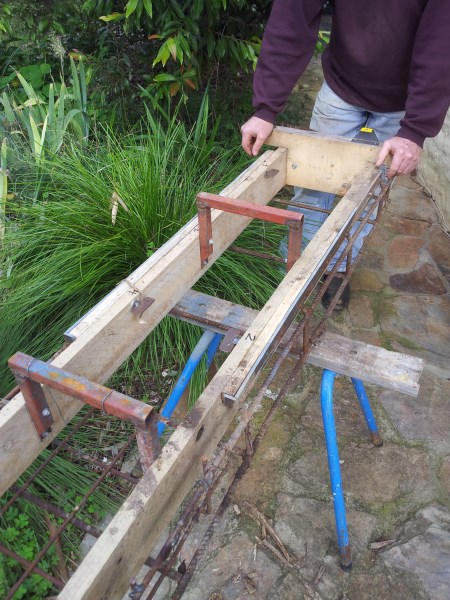
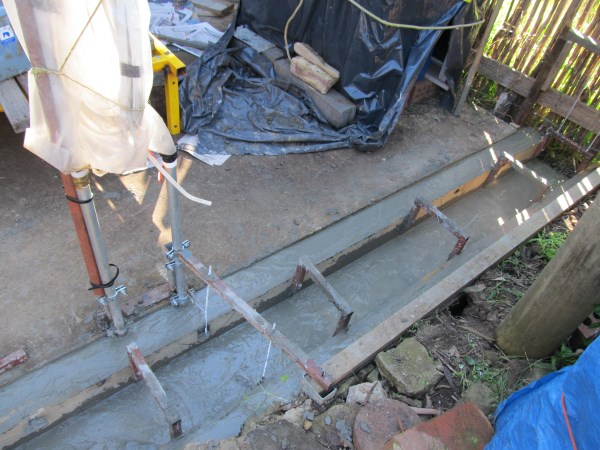
Here is the formwork and reinforcing for the box drain. These were made up as an assembly and installed in the trench as a unit.
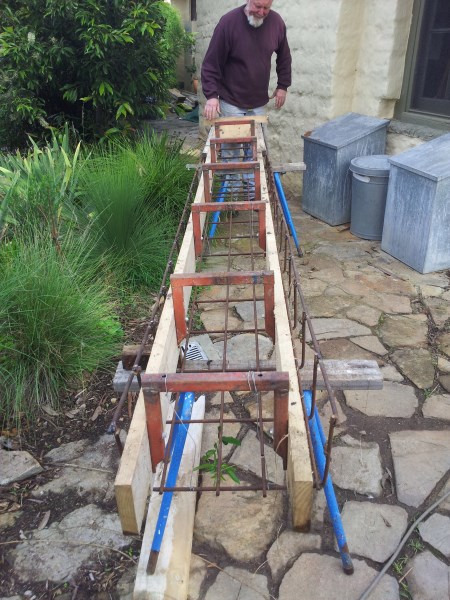
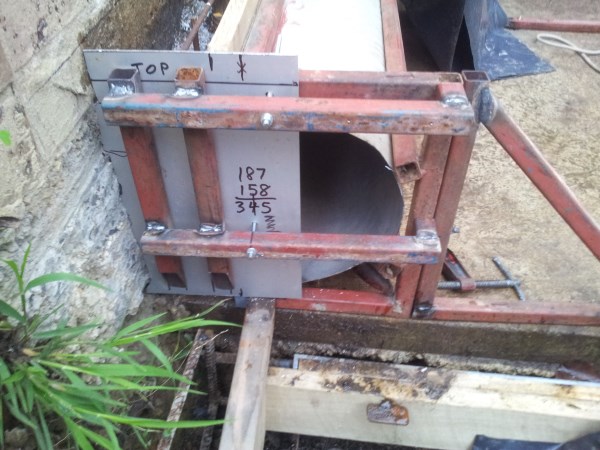
At the end where the grate was to go, the formwork and the reinforcing structure were united by the steel inserts that the grate was to be supported by.
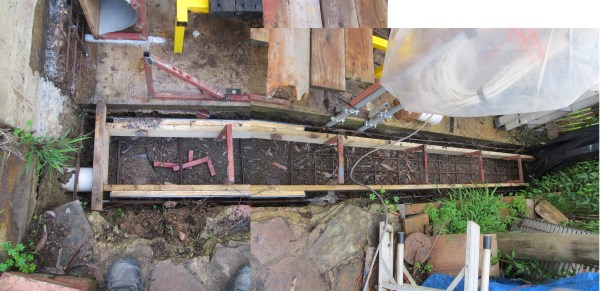
The box drain does not bend in the middle! This is just how it looks when I make up a composite photo the dummies way!
At the “upstream end, the formwork is supported on one side by a plastic pipe that will drain the adjacent garden. On the other side, support was provided by a sky hook!
Planning the day

Concrete
I had arranged for the concrete supplier to warn me when the truck was leaving their plant, so that we could apply the time-critical final coat of epoxy for the short wall. I got Furgutt to apply epoxy to the edges of the slabs in the shed as well so that there is a water tight seal to keep water in the sewer trench from the shed floor.
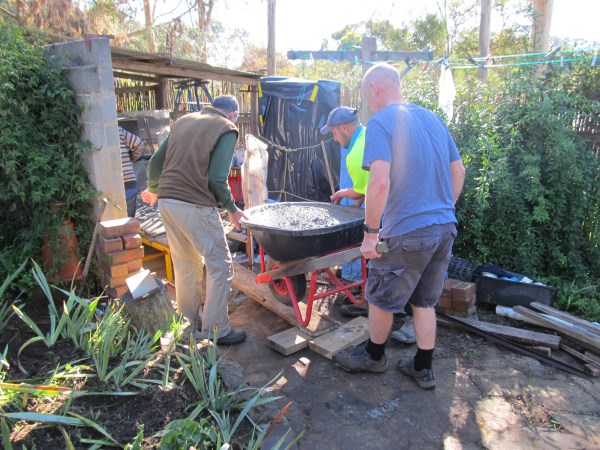
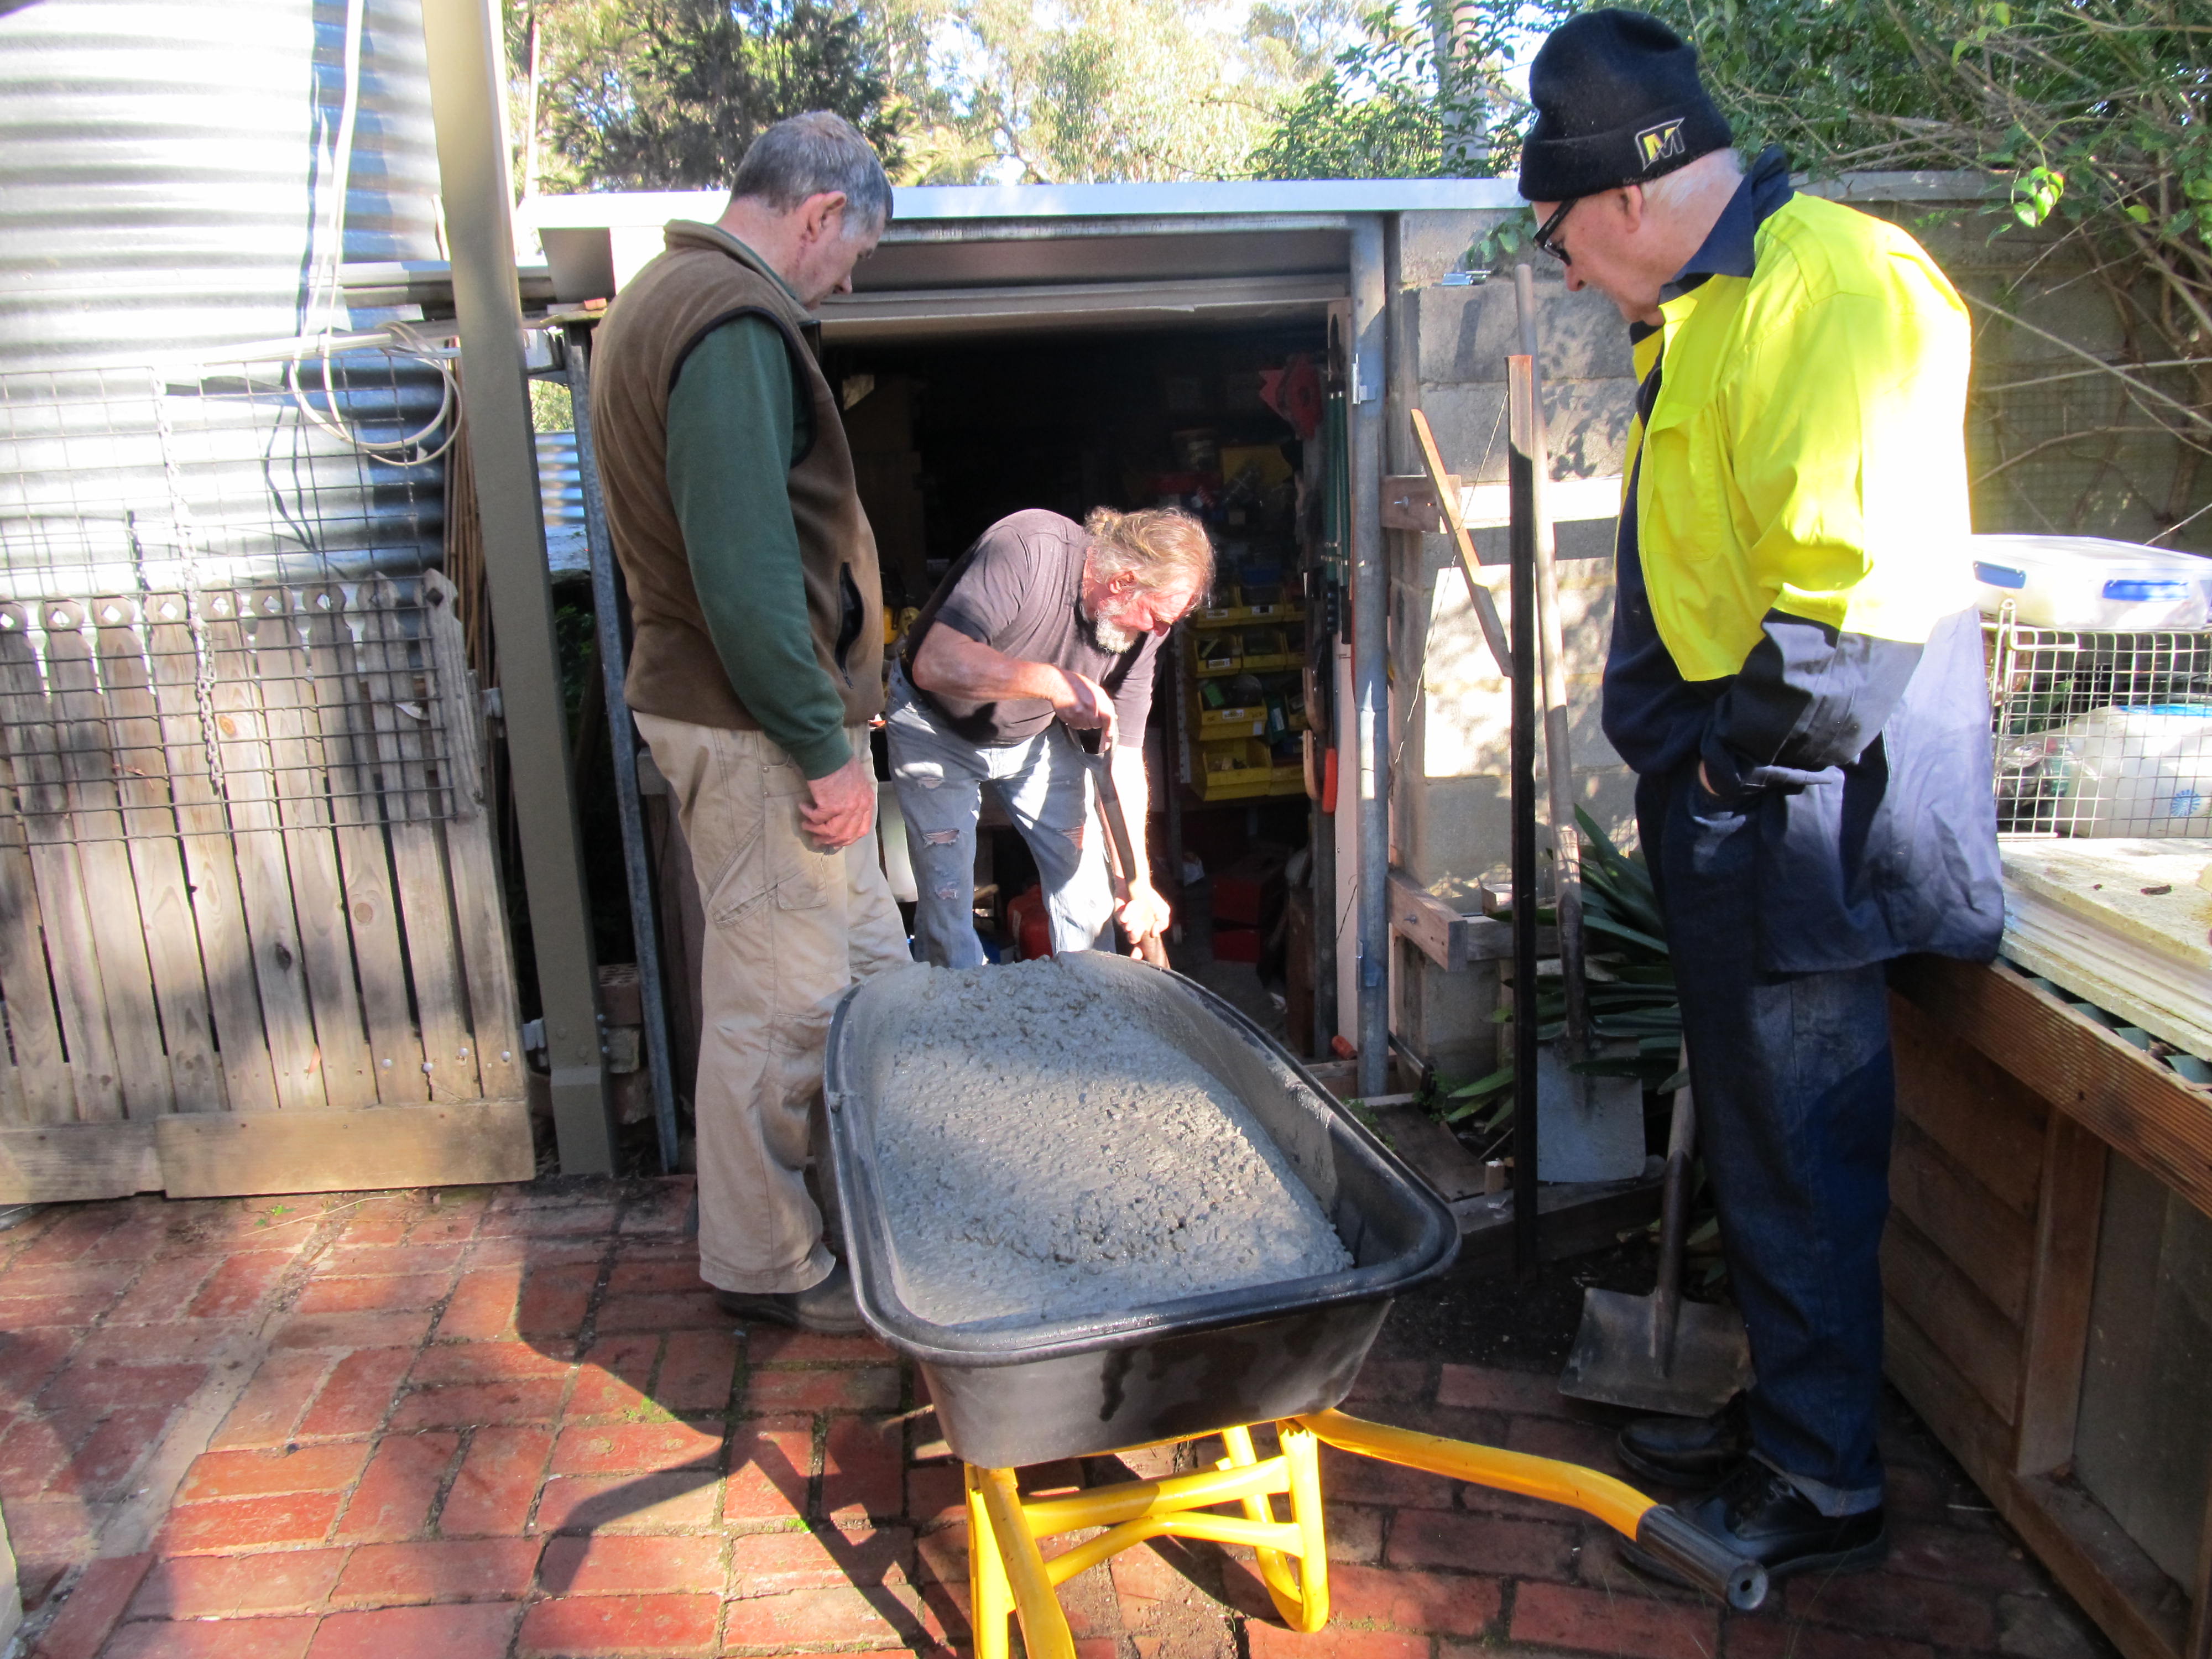
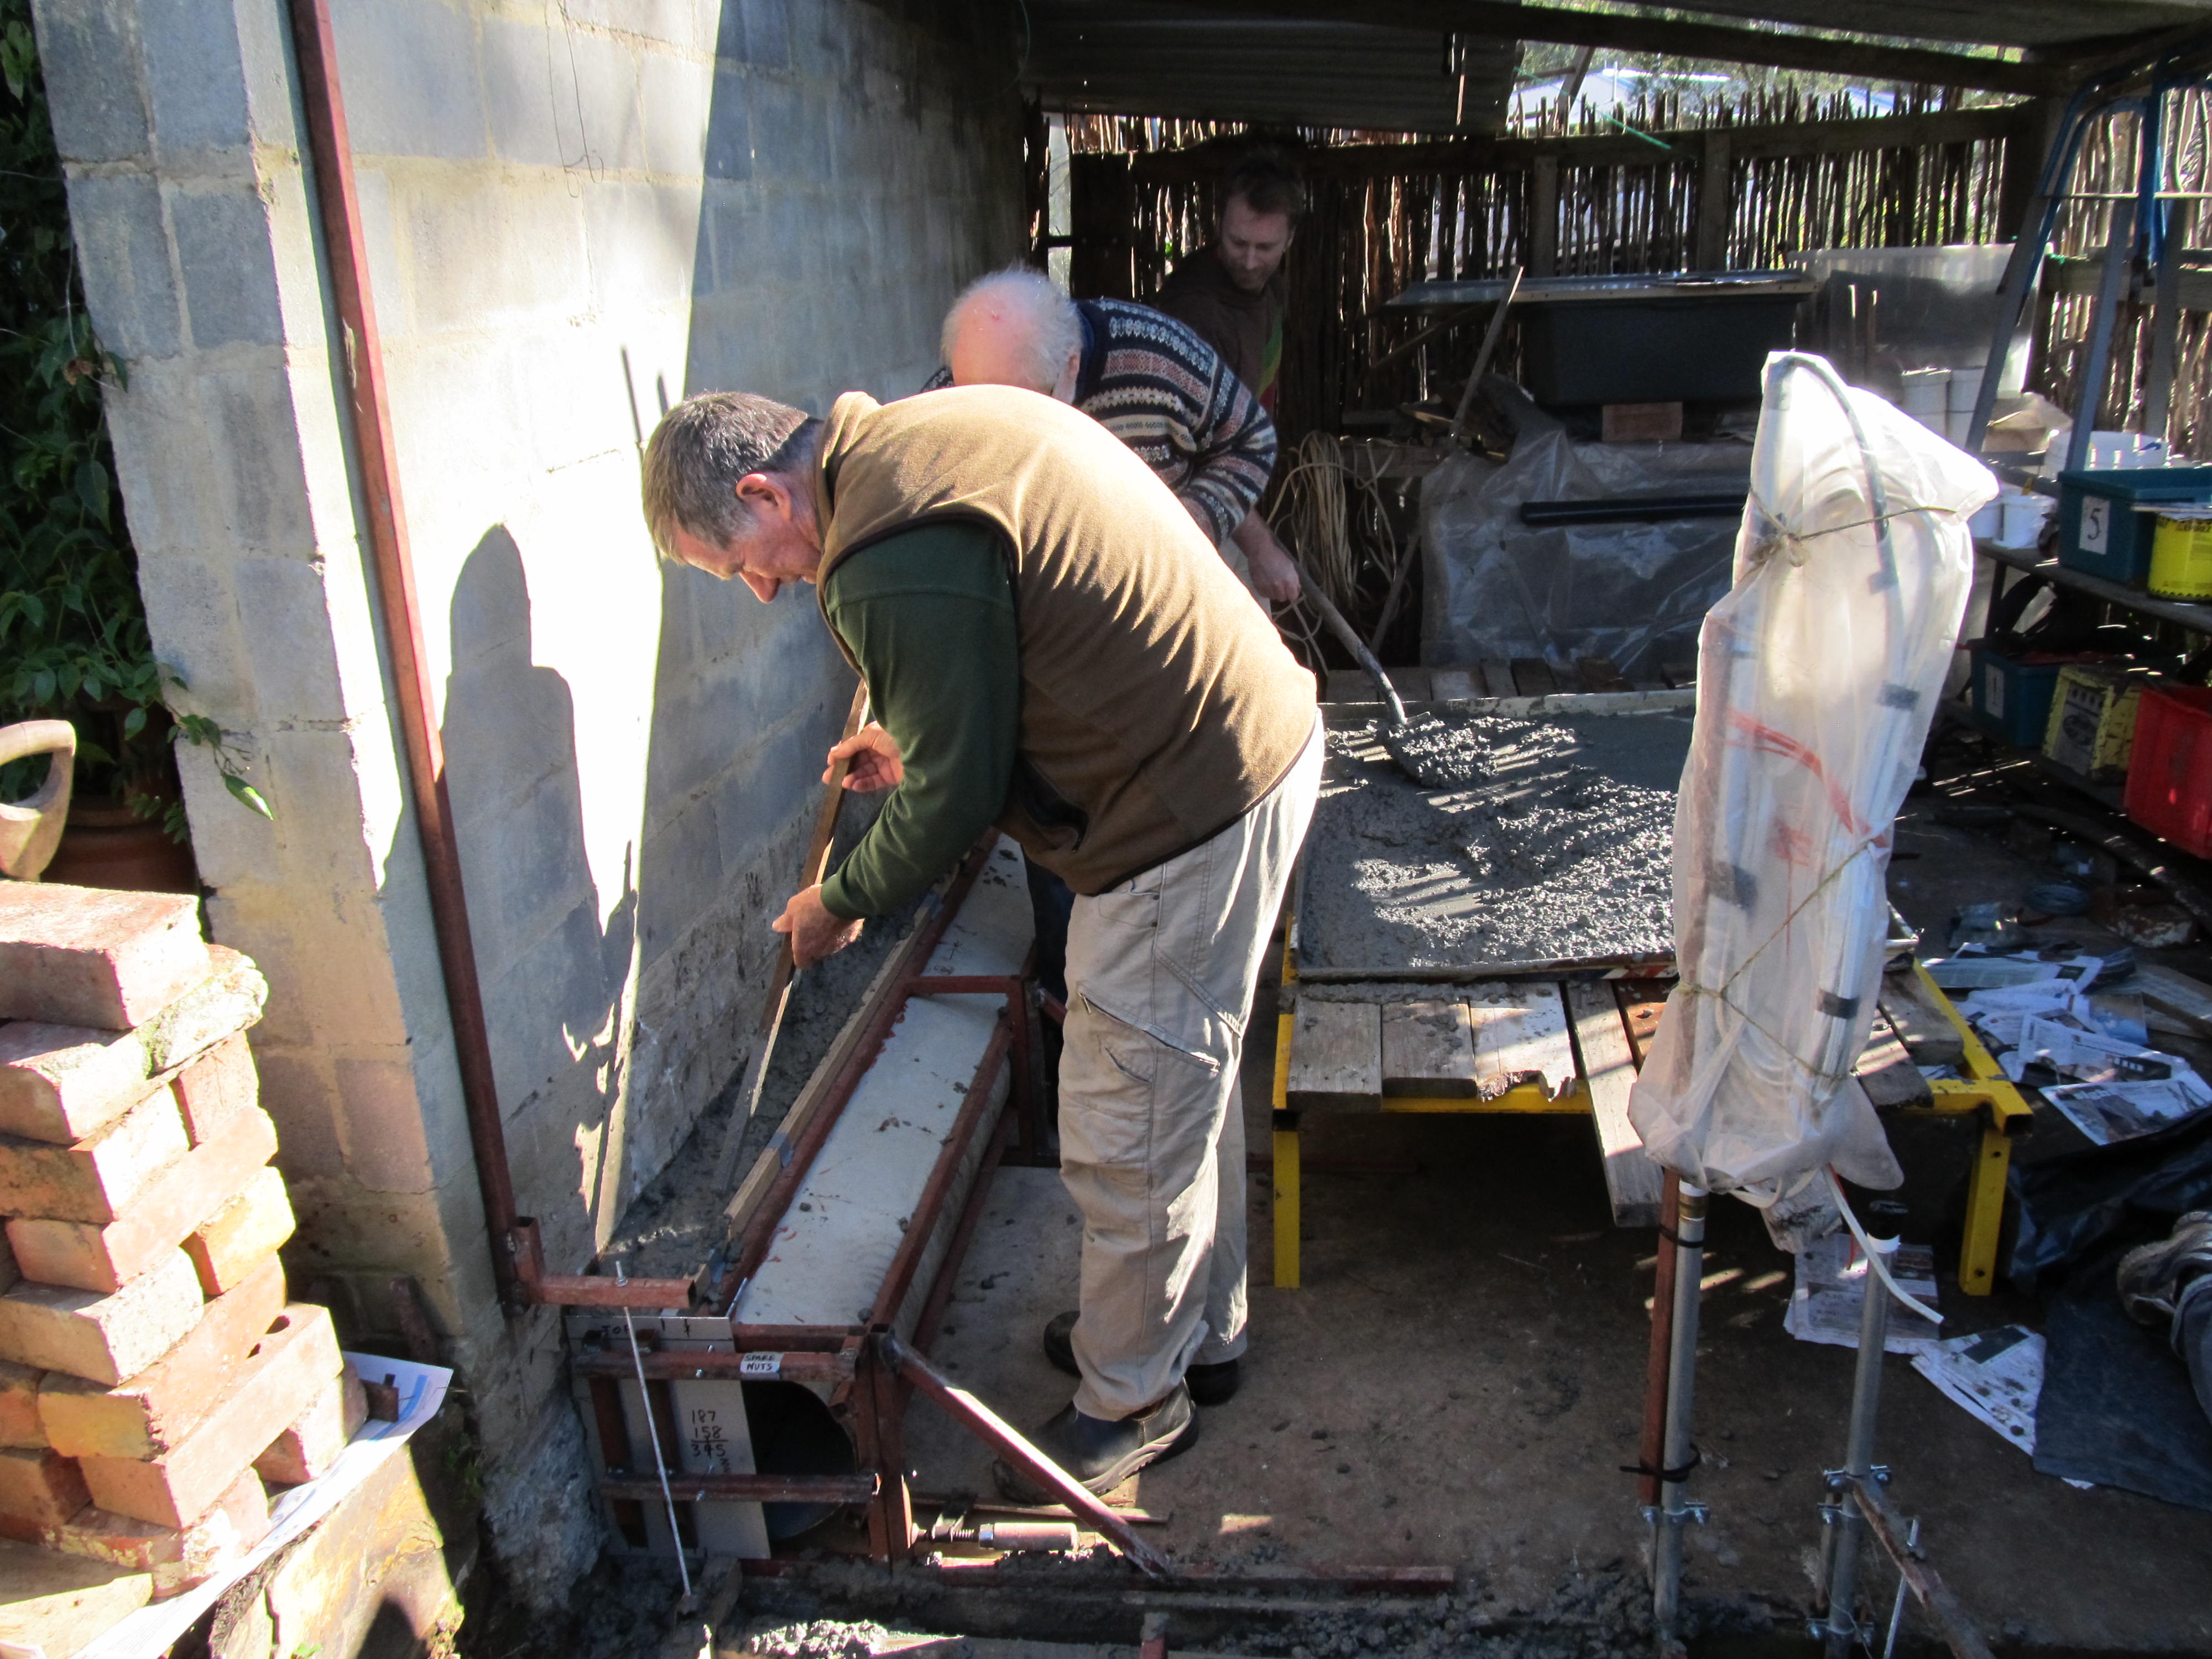
The concrete arrived.
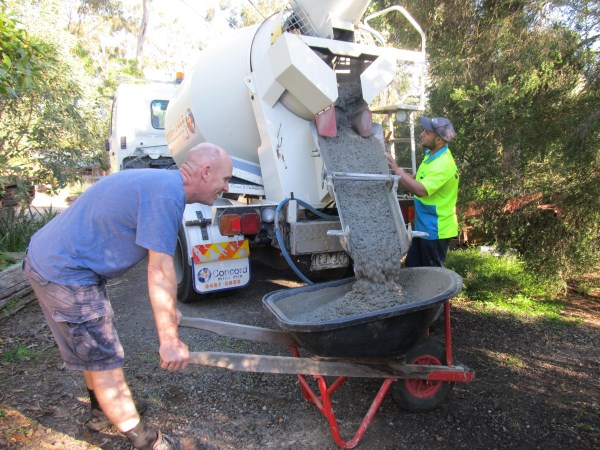
We had three barrows on the go.
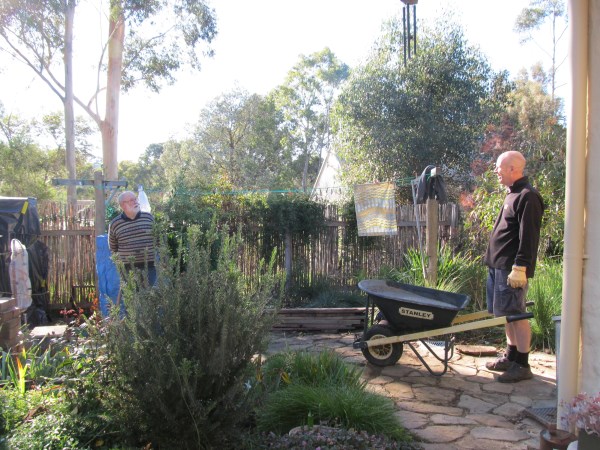
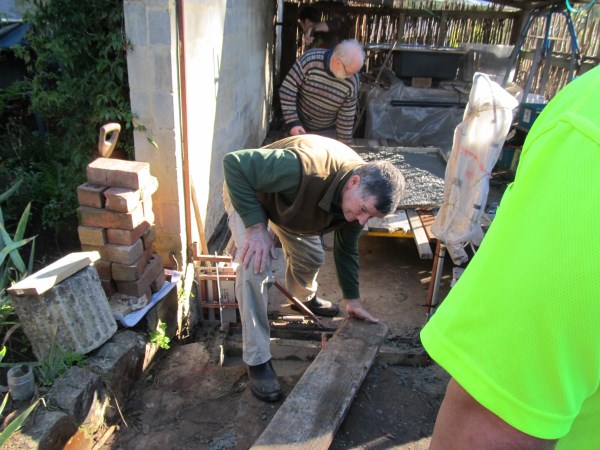
At the shed doorway, there was a blind corner for the barrow traffic, so Barry played the role of “traffic cop”.
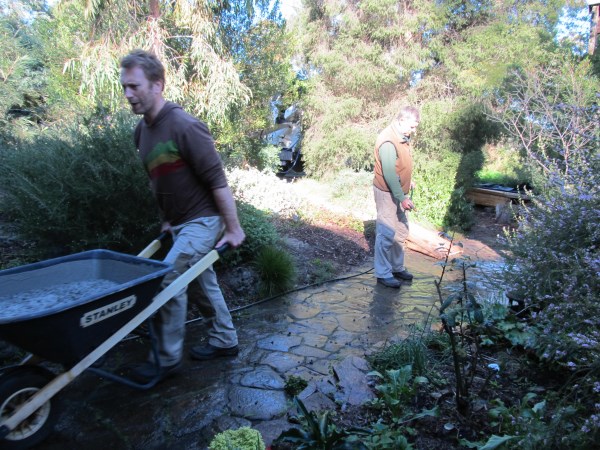
Concrete arrives at the workshop site. We didn't have many hold-ups, but there was just a pause whilst a plank was put in place.
Up the plank!
Between barrow loads, the plank was removed to allow the shovellers to have access to all the floor.
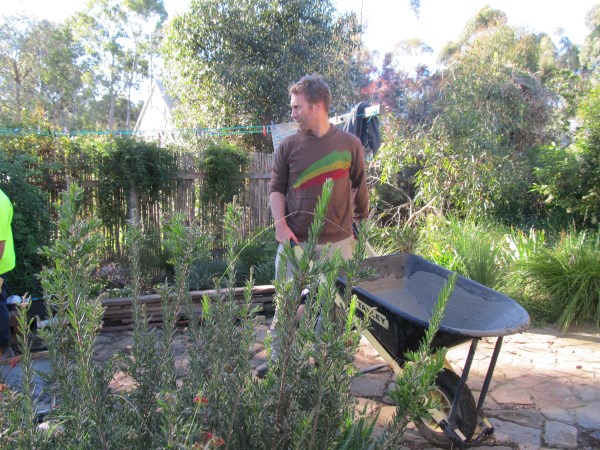
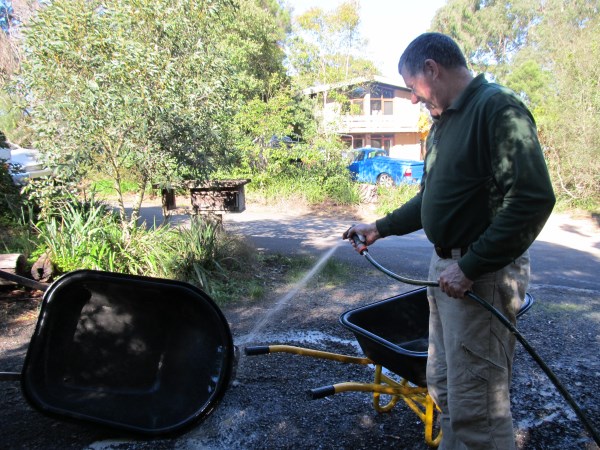
A critical job! Clean the barrows!
Pouring Shed Entrance
Furgutt did this. I was busy at the workshop end, so I had not known what went on at the shed, until I saw these photos later.
It came up very nicely in the end.
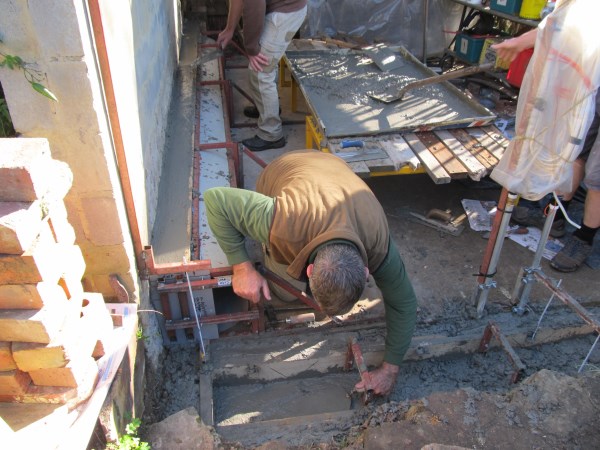
Pouring Support Wall
I had made a low support platform for the barrows to deliver to. I could shovel from this into the space behind the form. To the right of this picture, Doug is shovelling concrete into the box drain.
Shovelling into the short wall was quick and easy. One shoveller could keep two people going with sticks to consolidate the mix.
It came up all right! With concrete, one almost always gets a fine crack between new and old work. With the epoxy here, there is no crack at all. The concrete block wall and the floor slab are united.
Pouring Box Drain
The first couple of barrow loads did not go on to the platform, but straight into the box drain.
Doug at work getting the level at the bottom of the drain right.
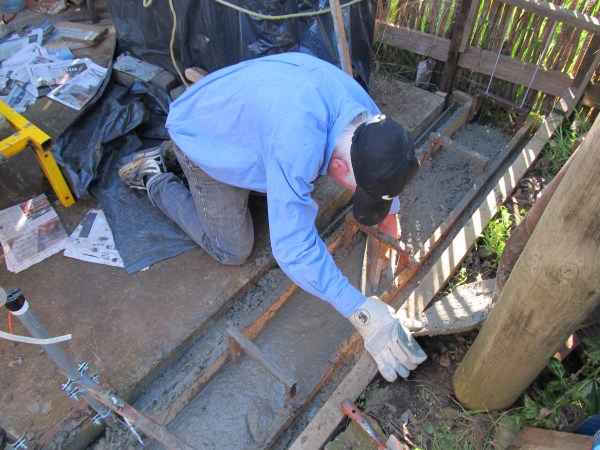
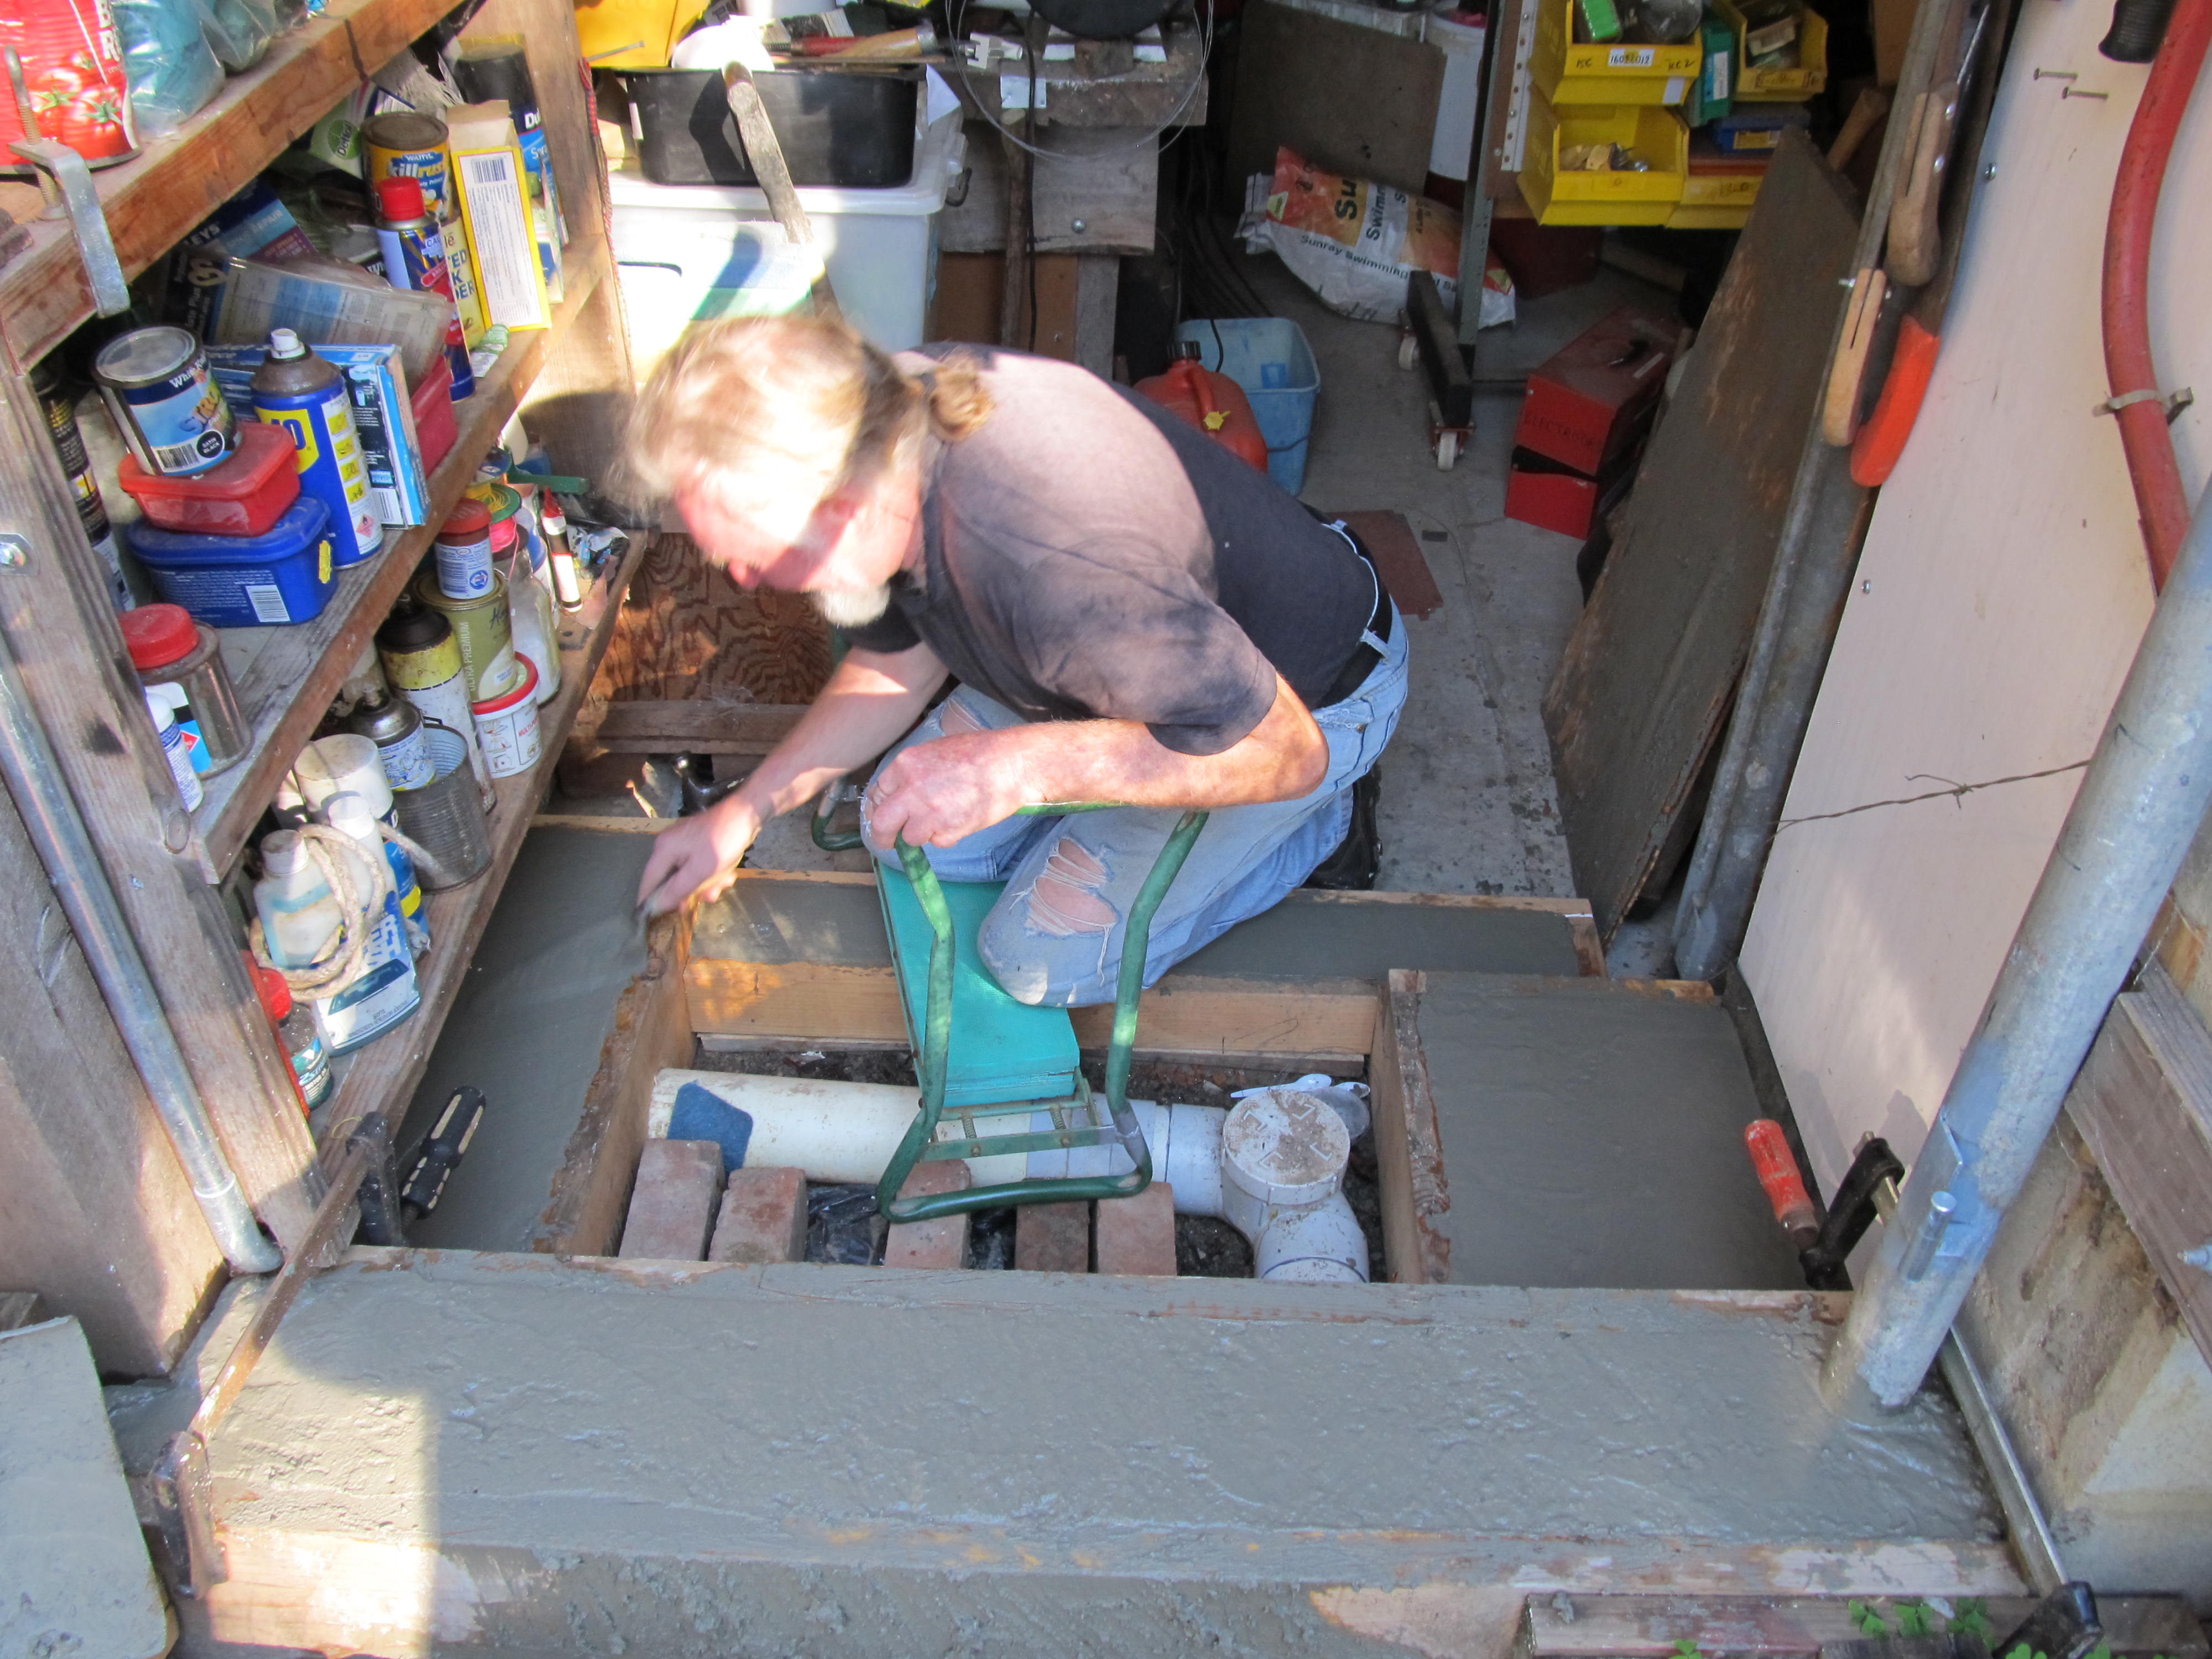
Alan floats up the drain bottom with a brickie's trowel.
All finished!
This is the end result.
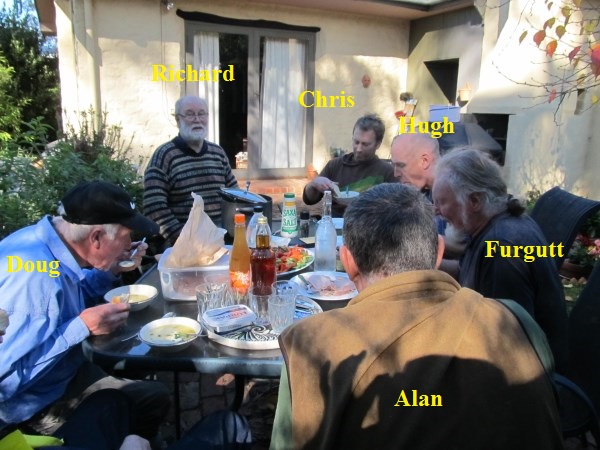
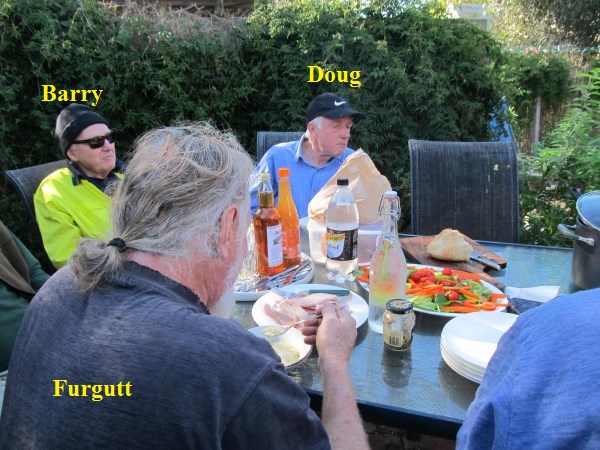
The People
The task couldn't have been done on the day without the help of
Alan Morrison
Barry Paul
Buck Buchannan (provided the grate)
Chris Schurmann
Doug Seymour
Furgutt
Hugh Stevenson
Gavin Barrow (From
Zodiac: provided me with some crates which yielded form work
material)
Susie Schurmann
(catering corps)


The whole crew reckoned that the catering corps needed a special thanks,

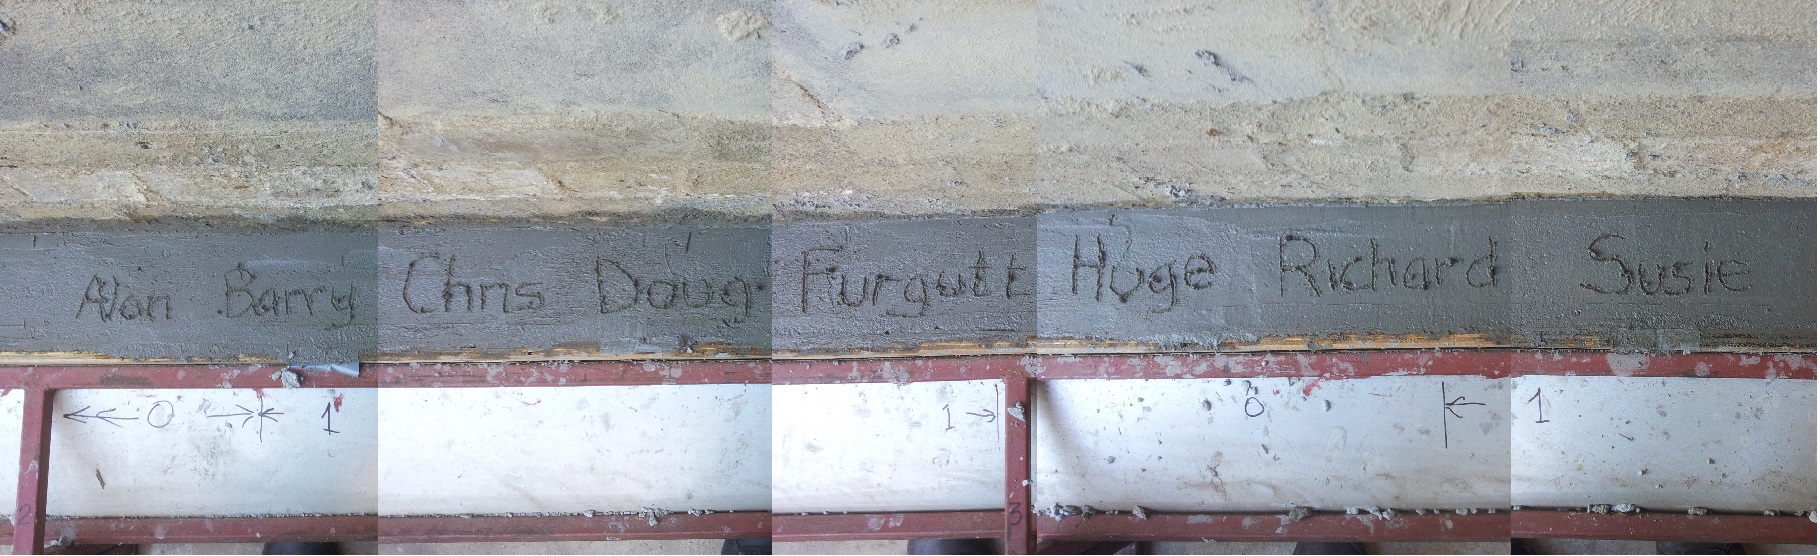
At the end of the day, a mate of Susie's who does concrete work, came around to see what we had done. “You have to write your name on it!” he said.